When Thank You Just Isn’t Enough – Watercolor Thank You Notes

Watercolor Thank You Cards

Sometimes thank you just doesn’t seem like enough. Like when you end up at the children’s hospital with your 11 year old daughter and God pours out blessing upon blessing, mercy upon mercy through the whole thing.

Watercolor Thank You Cards

Or when you arrive to the Intermediate Care Unit and walk off the elevator with the paramedic to see your pastor and his family sitting in the waiting room, waiting for you.

And when they grab McDonalds for you at 9 at night because you haven’t eaten since lunch.

Or when that same pastor leaves church right after preaching to be with you while your little girl is in surgery a couple days later.

Watercolor Thank You Cards

Or when a dozen or more people come together throughout the week to provide child care for the littles at home.

Or for friends who came at a moment’s notice to care for your other children so that you can go be with your girl in the ER asking for her mama. And to get you there so you don’t have to drive.

Other friends who drop everything to drive 2 hours and stay with those 5 children all weekend.

A mama of 5 of her own increases that brood to 10 to bring your children into her home for a couple nights.

Or another who gives up Hershey Park tickets to be with them the night after that.

Grandparents who come from far away to take the rest of the week.

Watercolor Thank You Cards

Or when cards and money are collected at the office to help encourage and provide for gas and meals during your stay.

Or when someone from work brings his wife and a Chic-fil-a dinner to the hospital to visit and encourage you, while your daughter sleeps strait through it.

Or when the gifts start piling in for your girl to make her smile and distract her from pain and sickness. And a gift for her is like a gift for you.

Watercolor Thank You Cards

Or when the Child Life staff at the hospital brings clay to distract her while they change the dressing on her chest tube, or brings a new game to play while they put in a new IV.

Watercolor Thank You Cards

Or when new friends stop in to feed the chickens each morning on their way to work when there isn’t anyone at home.

Or when old friends take baskets of laundry home to wash and return.

Or when lady after wonderful lady bring meals for the kids and their caretakers.

Or when someone at church videos your son in the VBS drama everyday because you can’t be there to see it yourself.

Watercolor Thank You Cards

And when hundreds of people pray earnestly for you and your family, keeping up to date and spreading the word!

After 4 very sick days at home, an urgent care visit, diagnosis of pneumonia, antibiotics, dehydration, and a visit to the ER for fluids, my 11 year old daughter was admitted to the children’s hospital not too far from home. A day and a half later she was continuing to worsen, though they had already changed her antibiotics. A chest tube released a lot of fluid that was building up around her lung (6 cups by weeks end). Finally the antibiotics could do their work.

We spent 9 days in the Acute Care Unit (after 1 in the Intermediate Care Unit) before we were able to take her home to finish her healing. It was a long 10 days away from the rest of the children and our home, but God cared for us and our children every step of the way. We maintained a peace that only comes from God in these circumstances (Philippians 4:6-7) and, though she was very sick and everything going on was super crazy, we never felt like it was out of control. Of course it was in God’s control the whole time.

Watercolor Thank You Cards

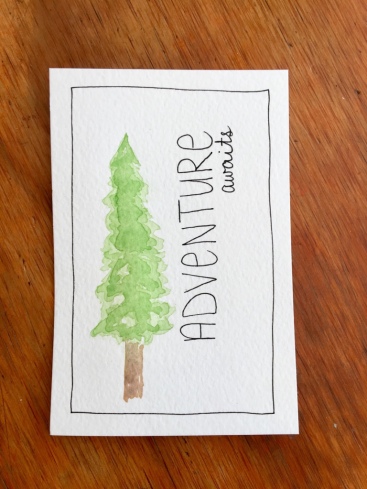
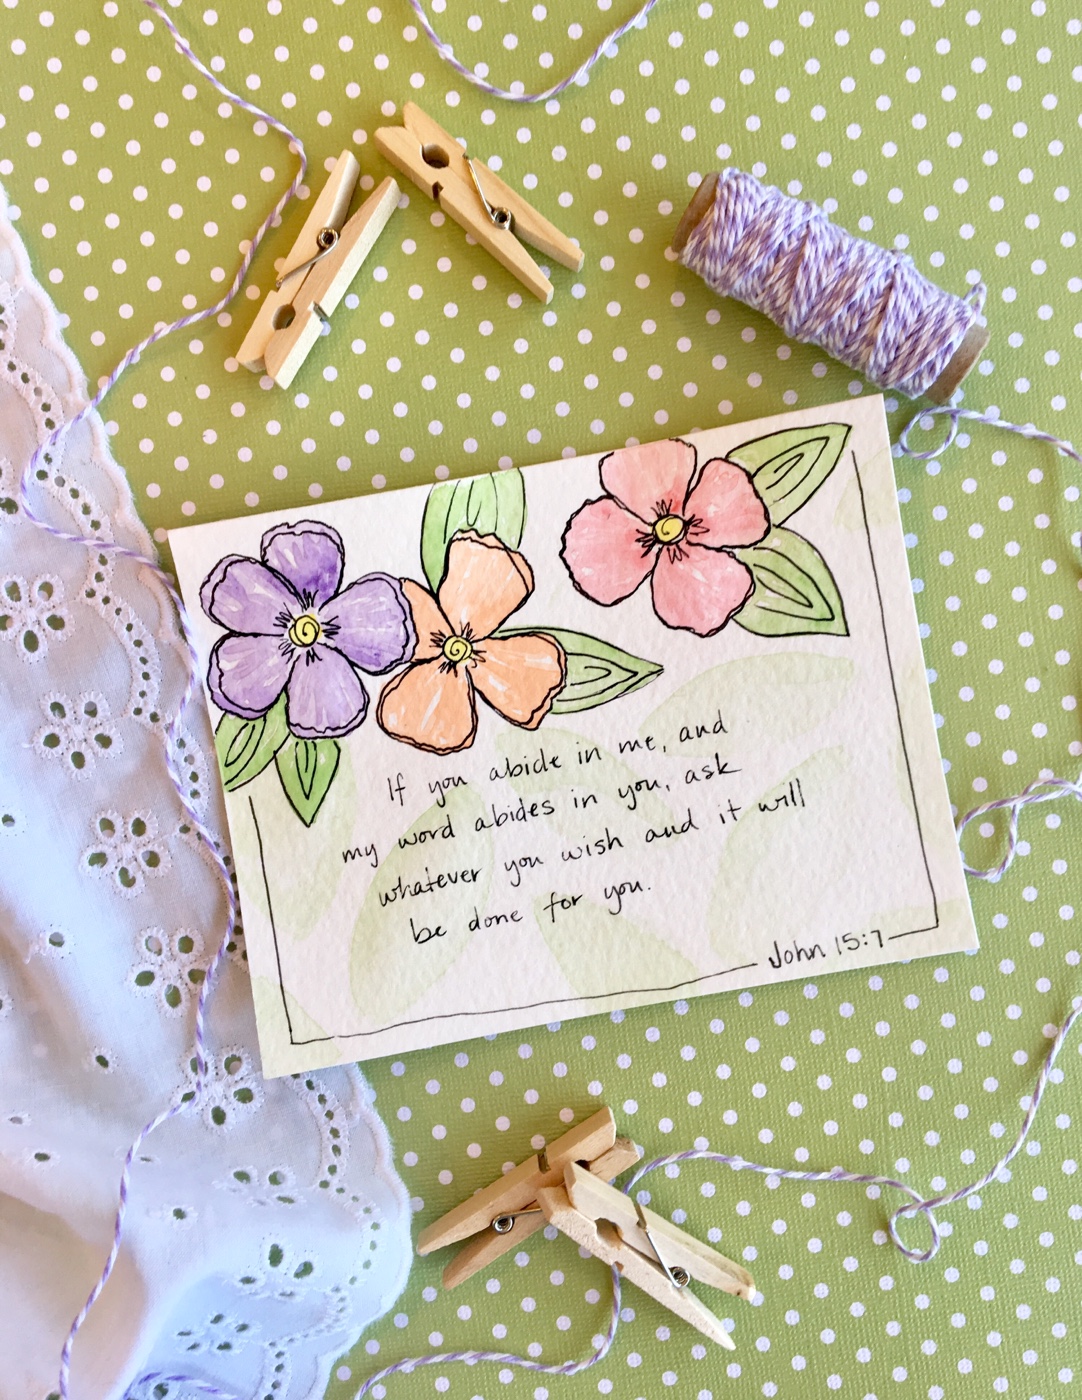
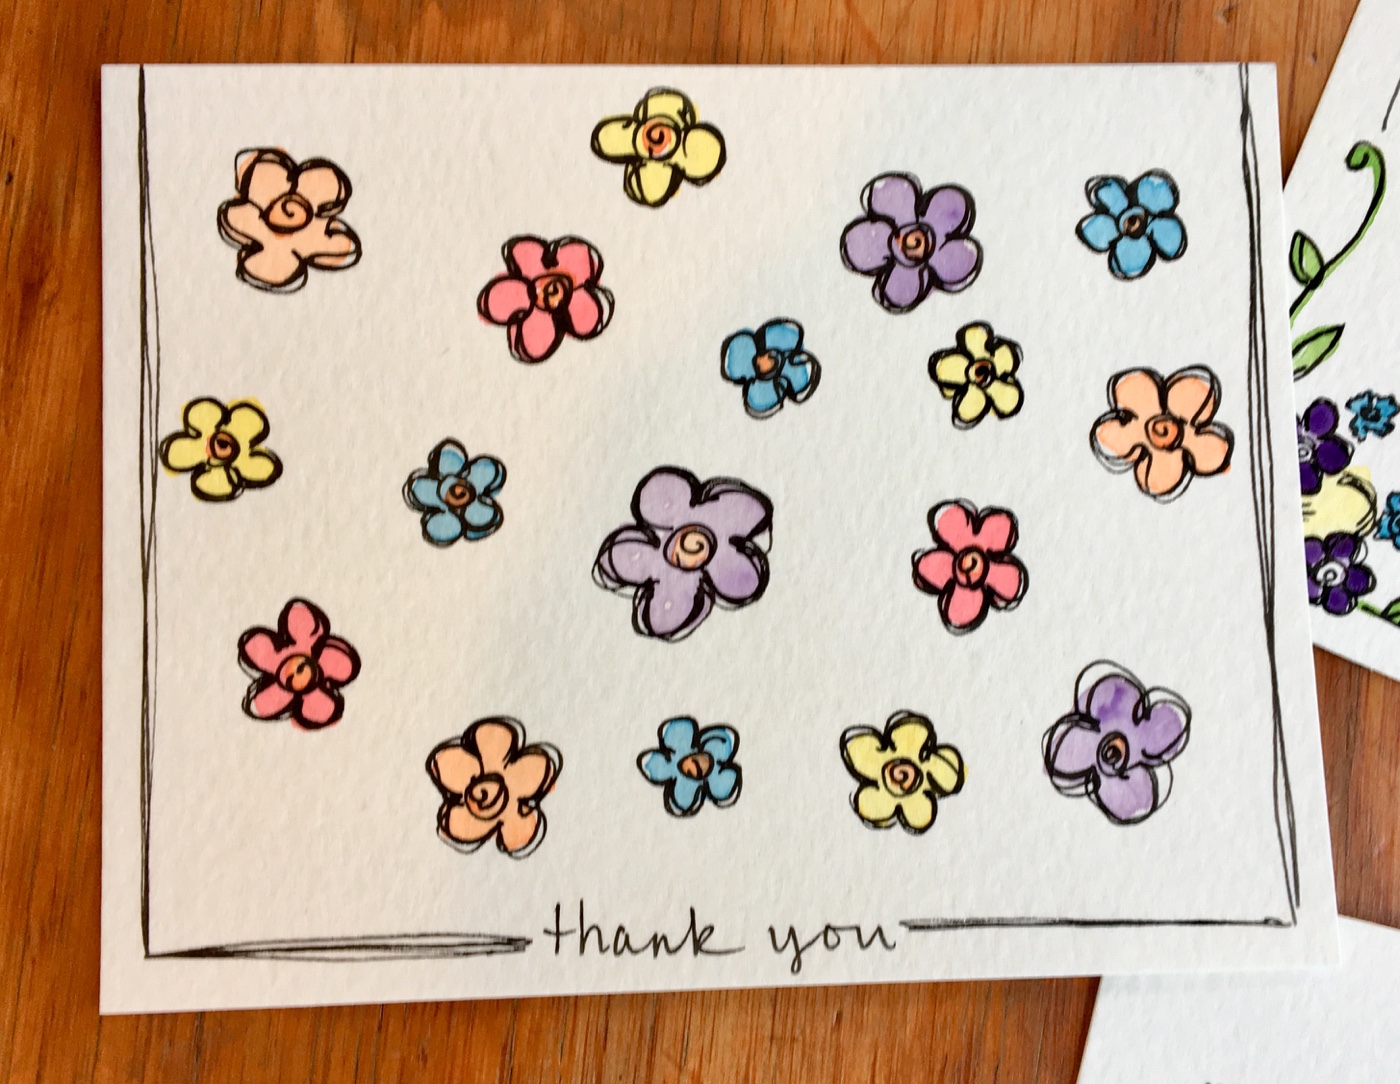
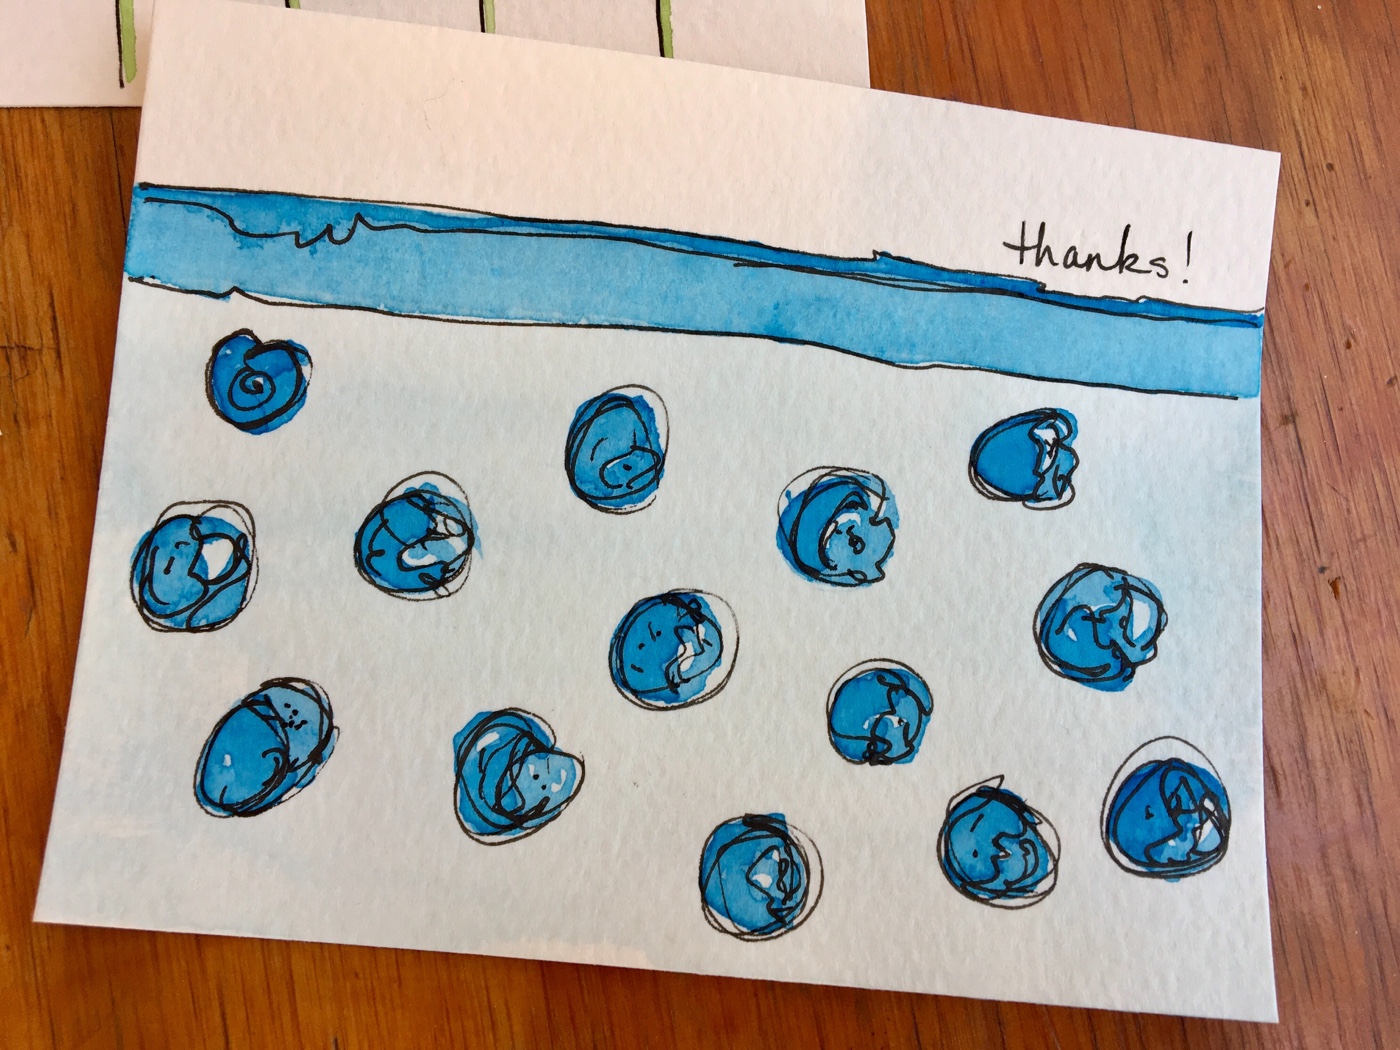
Certainly thank you just isn’t enough, but I wanted to paint some special cards for some of the people who were extra blessings during this time (in addition to one that went out to the whole church and others that we sent out various other ways.

Gathering here.

Recommended Reading:

Watercolor Scripture Cards
Easy Watercolor Cards YOU Can Paint
The Perfect Verse for Newlyweds

Easy Hiking Theme Birthday on a Budget

I wasn’t sure how I was going to make this “Hiking” themed birthday different from the “Camping” theme we did a few years ago, and let me tell you, inspiration was not coming. I had only general ideas going into the evening before the big day, but hopefully that is just proof of how easy and budget friendly this whole theme was.

Birthdays are a big deal around here, and if you’ve been around a while, then you know that there is always a theme. I was really struggling with what the theme would be this time around since the interests of my now nine year old haven’t changed much over the last few years. I’ve done all the themes already. What he really wanted was a hiking theme, but I kept fighting against it since we just did a camping theme a few years ago.

Added into all that, my husband and I spent 10 days during July in the hospital with our oldest daughter and, while she is in full health now, the week we got home was full of recovery and catching up from being away from home and the rest of the kids for so long. That left only a few days to figure out what I was going to do for this birthday.

Finally I gave in. Hiking theme it was… but I had no idea what I would do. Pinterest is always a huge help, but most of the “hiking” searches brought up tons of great “camping” themed party ideas. Or “national park” themes. Still not exactly what I was looking for. (See my Pinterest board for more ideas!)

One thing I did find was cute hiking signs I could print… but my printer wasn’t working at the last minute, so we didn’t have those.

So what’s a girl to do with no balloons, no streamers, and no idea what to start with? I headed upstairs to to the attic for the Christmas/winter decorations. Yes I did! You may recognize some of these from the Cozy Mountain Lodge Women’s Retreat I decorated for earlier this year too.

I put some of these decorations on my much loved shelves.

Adventure Awaits Hand Painted Card -- Easy Hiking Theme Birthday on a Budget

And I try to paint/illustrate a little card for each of the kids on their birthday. It’s become something that is really special to them. This time I thought it fit nicely in the decoration. You could totally do this painting. I painted the green part of the tree loosely, leaving gaps here and there in a light green. After that dried, I did it again with the same paint, but not going all the way to the edges. Then a third time after it dried again. Once it was all dry the fourth time, I added the brown trunk. Sometimes I simply use a tall triangle for a pine tree. It works great!

The mountains I put on a pedestal in the middle of the breakfast table. (Excuse the wrinkled tablecloth… the epitome of last minute.)

Birthday breakfast was cinnamon roll mountains. Super easy! Two cans of cinnamon rolls from the refrigerated section of the grocery store (though you can make your own if you have the time and inclination). I just unrolled each one and re-rolled it in the slightest cone shape. A little tip: don’t go too high with your cone or it will topple over… but I just made that one mine. 🙂 No big deal.

I made little flags out of scrapbook paper and glued “take a hike” circles on to them. The stick is a skewer I cut into three parts. I hand wrote the “take a hike” but you could use something printed off the computer or even stickers if you can find something you like.

Life's An Adventure... Go Hiking! Chalkboard -- Easy Hiking Theme Birthday on a Budget

The chalkboard was really easy to do. Honestly, the hardest part was the lettering. Again, you could even use a simple tall triangle for the tree if the scribbled lines are too much. I found that the orange chalk gave enough of a brown feel over the black of the chalkboard that it worked perfectly.

Hiking Trail Cake -- Easy Hiking Theme Birthday on a Budget

The cake was the most last minute of all. I baked the cake the night before… but I used too high of a temperature and it was dry. So my daughter and I remade it that morning. That afternoon I was assembling my cake unfrozen (freezing them first makes it super easy to assemble and frost!!) and with no real idea of what I wanted to do. None of the 2-3 pins I found were what I wanted/had time for, so I was on my own. The cake has it’s own post! Click over to find out how I made it! 🙂

And that’s how we did our easy hiking theme birthday on a budget! To top it off, we recommended some hiking themed birthday presents to family who were looking for ideas, so the back pack, nature journal and compass really added to the excitement! 🙂

Pin it Button from mamasbrush
Easy Hiking Theme Birthday on a Budget

Gathering here.

Recommended reading:

Take a Hike: How I made a Sloped Birthday Cake
Ladybug Birthday Party Theme
Every “BUG”ys Welcome Adoption Party
Mary Poppins Birthday Party Theme

Easy Watercolor Flowers YOU Can Paint

I painted these cards for a party we attended this weekend for a graduate in our church. I sat down Friday night with no inspiration of what I wanted to make. What I ended up with an hour later was easy watercolor flowers YOU can paint. I didn’t start out to make a tutorial (the party was the next day), so I don’t have pictures to share of the process, but I want to talk you through what I did, because these really are Easy Watercolor Flowers YOU Can Paint!

I painted this whole thing without a pencil drawing. This makes it easier for me because I don’t have to worry about getting the petals just right when the time comes.

Getting Started

The first thing I did was to paint yellow dots where I wanted my flowers. If you are making a greeting or verse card, give some thought to where you want your flowers, if you are practicing, just put them anywhere. They would be cute in a semi-strait line across the middle of your work space. Remember to leave space between the centers for the petals for each flower.

Let the yellow paint dry.

Adding Petals

When the centers are dry, you can begin to paint the petals. I chose a color palate ahead of time and thought through where I wanted them. I begin by painting the outline of the petals where I want them, sometimes 4 petals, sometimes 5. You can do what you like.

If the petals aren’t exactly the right size or shape, just add more paint and change them a bit (this is why I like painting with pencilwork first.) When I am filling in the color on the petals, I try to leave white spaces for a little textural interest.

Stems

While allowing the petals to dry I worked on the stems and leaves of this card. I am careful to leave a little gap between the still trying flower and the green of the stem, otherwise the colors will bleed together. I simply used the very tip of one of my size 7,8, or 9 brushes (though you could use a smaller one if you are more comfortable with it.)

I dragged the tip downward from the flower to the bottom of the card. Be careful to draw an imaginary line from the center of your flower through the petals so your stem placement is realistic. Go back and add paint to make it darker, or more water for thicker stems as needed.

Easy Watercolor Flowers YOU Can Paint -- My Creative Process at mamasbrush.wordpress.com

Leaves

I first added leaves to the stemmed flowers because they are further removed from the wet paint of the petals. I chose a very traditional leaf shape and deliberately left them running off the edge of the paper and behind a nearby flower (though you need to make sure the flower it touches is dry first).

Easy Watercolor Flowers YOU Can Paint -- My Creative Process at mamasbrush.wordpress.com

For the leaves on this card, I waited for the petals to dry and added leaves coming from behind the petals. Do you see the faint leaf behind the others on the purple flower on the left? That was the original leaf for that flower and it was way too big. I added a bunch of water and tried lifting the already dry paint with a paper towel, but it didn’t lift all of it. I was a little disappointed that I’d ruined the card, but I moved ahead and added the smaller leaves instead, just for practice.

Fixing “Mistakes”

I set it aside to dry while I worked on other details, and while was working I had an idea. I decided to paint very faint large leaves all over the background of the card. I painted with a lot of water, let it sit a moment or two, then dabbed it up with paper towel. Not only was the card not ruined, it was the one I decided to use for the graduation party. When you find that you’ve made a mistake of your own, set it aside for a bit and see if you can brainstorm a way to make it part of your design. You may just like it better than your intended design! 🙂

Easy Watercolor Flowers YOU Can Paint -- My Creative Process at mamasbrush.wordpress.com

Another layer of color

When everything was dry, I went back in and added another layer of color to each of the elements. For some of the flowers I went around the edges with a darker color (see the purple flower on the bottom card). For others I made streaks of darker color coming out from the middle (the purple flower on the top card. For others still, I gave an extra layer of color on half of each petal. For the leaves, I added another layer (or two) of green on one half of the leaf. There are so many ways to do this, just experiment and see what you like!

Easy Watercolor Flowers YOU Can Paint -- My Creative Process at mamasbrush.wordpress.com

Finishing Touches

This is when I add my pen work. I usually do this the next day, since I do most of my painting late at night. The trick is to make sure your painting is completely dry! For the leaves I think a pointed version of a spiral is fun. For the petals, I trace each one twice, sometimes staying right on top of the first line, other times leaving a gap all around or even just on the end. I think this makes it look like the petals are curved around on the ends. I add some squiggly lines at the base of each petal and a spiral at the center.

My goal for these finishing touches was to make the painting cute and whimsical. If I wanted them to look a little closer to realistic, I may have used dots in the centers and simple vein like lines on the leaves. Go with what you like and have fun! Shayda Campbell once said, if I want it to look exactly right, take a picture. Painting is about giving it your own creative interpretation.

When all was said and done I added the verses I had in mind and the border. Since I was short on time, I just did a simple lettering and added the verse reference into the border as I like to do. I think it worked though. The flowers dressed it up enough and the lettering style didn’t distract from the painting or the message.

So will you try it??

Pin it Button from mamasbrush

Gathering here.

No Sketch Challenge: Watercolor Painting with a Summer Theme

Challenge: No Sketch Watercolor Painting with a Summer Theme

This collection of summer themed watercolor illustrations was a spur of the moment adventure.

The big kids were at summer camp, leaving me with the little three, ages 3-7. It’s been a long time since my oldest was 7. It was quite the adventure, and to be honest, while I had more chores to do without them here, it was like a mini vacation.

The kids wanted to paint, so instead of my usual “no”, I actually said yes. (Point for mom!) I grabbed their paint sets and got them some water and brushes and paper towels. Then I grabbed some for me.

But what would I paint. I don’t paint as much during the summer due to more demands on my energy, less time, and less inspiration. I just get more excited about painting the other seasons I guess.

I started with the little blue crab in the corner. It reminded me of our weekend in St. Michael’s, MD this past fall (you should totally go, by the way, super fun little harbor town!) From there it just sorta turned into a summer theme. I laid down some paint for a handful of illustrations and when one was dry, I added the next color or layer. (I like having more than one painting going at a time for this very reason!)

Challenge: No Sketch Watercolor Painting with a Summer Theme

The catch? Whatever I wanted to paint, I had to start with the watercolors. No pencil sketch first. My reasoning was lazy enough. I didn’t want to take a bunch of extra time getting things laid out. Who knows how long the kid’s attention span would last this time anyway.

Way back in the beginning, when I was just learning to paint, I painted like this all the time. I hadn’t fine tuned (ummm… still haven’t) my drawing skills and I didn’t know any better. I don’t paint like this as much anymore, mostly because I usually have a purpose to my painting and I want to sketch it out first to get the look and layout just right. But it is so fun to just paint. It frees me from the need for perfection (ahem) and lets me experiment. I have to remember two things when I paint this way.

Challenge: No Sketch Watercolor Painting with a Summer Theme

2 things to remember:

  1. It does have to be perfect. Things won’t be laid out just right or centered or anything. (Note the position of the palm tree to the cloud. If I was going to be all crazy, I might wish it was a smidge to the left, but who’s going to be like that?) And the end result doesn’t have to look exactly like the real thing… it’s my creative interpretation. (aka I can do what I want.)
  2. I don’t have to love every illustration in the end. There are a couple little illustrations on here that I really love and will probably scan for use later, or at least try to paint again sometime. (I think that tiny firefly is just adorable!) Others, I wasn’t happy with at all, and if I do them again, it will be to improve upon them. (The bee needs a lot of work people!)

So now it’s your turn! Grab a set of watercolor paints (your kid’s are fine!) some water and paper (I began my painting adventures with card stock if that’s all you have) and just start painting. It helps to have an idea or theme in mind to get you started, but paint anything you want. No sketching! And have fun!

Leave me a link to the pic in the comments if you upload it somewhere! I’d love to see it!

Pin it Button from mamasbrush
Challenge: No Sketch Watercolor Painting with a Summer Theme

Gathering here.

My Creative Process: Hand Lettered Daffodil with 2 Corinthians 5:17

Hand Lettered Daffodil with 2 Corinthians 5:17 - "If anyone is in Christ, he is a new creation."

The other night, I had what I thought was just 15 minutes available to paint while my husband stayed back to get the kids to sleep. Usually with that much time available, I wouldn’t bother to take everything out, but I really wanted to paint! It had been a couple days since I’d had time, so I decided to see how much I could get done in 15 minutes. Could I create something worth while in that much time?

Hand Lettered Daffodil with 2 Corinthians 5:17 - "If anyone is in Christ, he is a new creation."

As it turns out, I had more like 30 minutes, so it was definitely worth it. I was able to get all the paint laid down for this daffodil! I started it without a sketch. When all you have is 15-30 minutes and no projects in the works, there isn’t time to sketch (okay, there could be, but I didn’t take the time).

It was fun! I started by laying down a light yellow in a daffodil shape. I messed it up, so I made it bigger. 🙂 Problem solved. Now the top petal was cut off, so in the end, when trimming it to size, I decided to trim the side petal too. I like the way it turned out.

Hand Lettered Daffodil with 2 Corinthians 5:17 - "If anyone is in Christ, he is a new creation."

Next I dabbed some orange on to the wet paint (that is called a wet on wet technique) and it crawled around wherever it wanted to go. I picked up the paper and tilted it here and there to encourage it to go where I wanted, but it doesn’t have to play by my rules.

Once it was dry I added the green stem and leaves (so the color wouldn’t bleed where they touch).

The next day, I added all the pen work and lettering.

Hand Lettered Daffodil with 2 Corinthians 5:17 - "If anyone is in Christ, he is a new creation."

My favorite part is the lettering. From the beginning I pictured the words of the verse following the shape of the flower and I really like the way it turned out.

I choose 2 Corinthians 5:17 from my list of memorized verses on Bible Memory (our family’s favorite way to memorize and meditate on Scripture! Free for the first 50 verses and well worth the trial. It makes learning and practicing Bible verses easy and fun!) (That was not a paid plug… we just really love them!)

“Therefore, if anyone is in Christ, he is a new creation. The old has passed away, behold, the new has come.” 2 Corinthians 5:17

I thought it was a beautiful verse for spring, with all the new life around us. Truly, the old of the world died back over winter, and now the new creation is springing up all around us! And just the same way, when we choose to repent of our sins and follow Jesus, we are new creations in Him, our old selves dead and left behind us! Thank you Father for making me new!

Pin it Button from mamasbrush
Hand Lettered Daffodil with 2 Corinthians 5:17 - "If anyone is in Christ, he is a new creation."

Gathering here.

Scripture Cards for Graduation – Watercolor Illustrated Flowers

Scripture Word Art Cards

Monday we were invited to our pastor’s home for a double graduation party.  Their adopted daughters both graduated high school this year and it was a fun celebration!

I knew I wanted to paint their cards, but I struggled to know what I wanted to do.  I played with some graduation themed illustrations, but they didn’t seem right.  In the end I went with encouraging their future instead of commemorating the achievement.  I may use one of those later this week if I paint one for a guy we’ve been building a relationship with at our grocery store.

Scripture Word Art Cards - Colossians 3:16

I just noticed that I hadn’t put the reference (Colossians 3:16) on this one when I took the pictures.  I did add it before stuffing the card into the envelope.  I put it along the stem above the left leaf.  I liked it.

I got the idea for this card from a pin I saved from Elvie Studio.  I’m still in that learning place where a lot of what I come up with starts with what I love about other people’s work.

Scripture Word Art Cards - 2 Timothy 1:7

I got my inspiration for this one on Pinterest too.  Mine is different.  I like theirs better. 🙂  But it was good practice, and I still think it turned out fun.

Best of all, the girl’s liked them and it’s something they can take away to school next year and put up in their rooms if they want.

Gathering here.