Fresh Salsa – Updated Artwork

Fresh Salsa Watercolor Print |
mamasbrush

Fresh salsa veggies kitchen wall art decor.

I’ve shared these watercolor veggies before. It was an illustration I made for my dad one year for Father’s Day. I was super happy with how it turned out then, so I wanted to digitize it to add to my new Etsy shop.

It’s my newest listing and everything in that shop is currently 30% off through the 8th to celebrate it’s opening.

Fresh Salsa Watercolor Print |
mamasbrush

Fresh salsa veggies kitchen wall art decor.

You can find me gathering here.

Extra Special Baby Shower Gift

Custom Baby Stats Print | mamasbrush #easybabygift #beginningwatercolor #babyshowergift #sunflowerdecor #babystats #yellow

I’ve mentioned before here and here that I believe every baby needs a party! When a family already has children, instead of a full blown party, we set up a gift table at church and invite the church family to bring gifts to celebrate with and bless the family over a few Sundays.

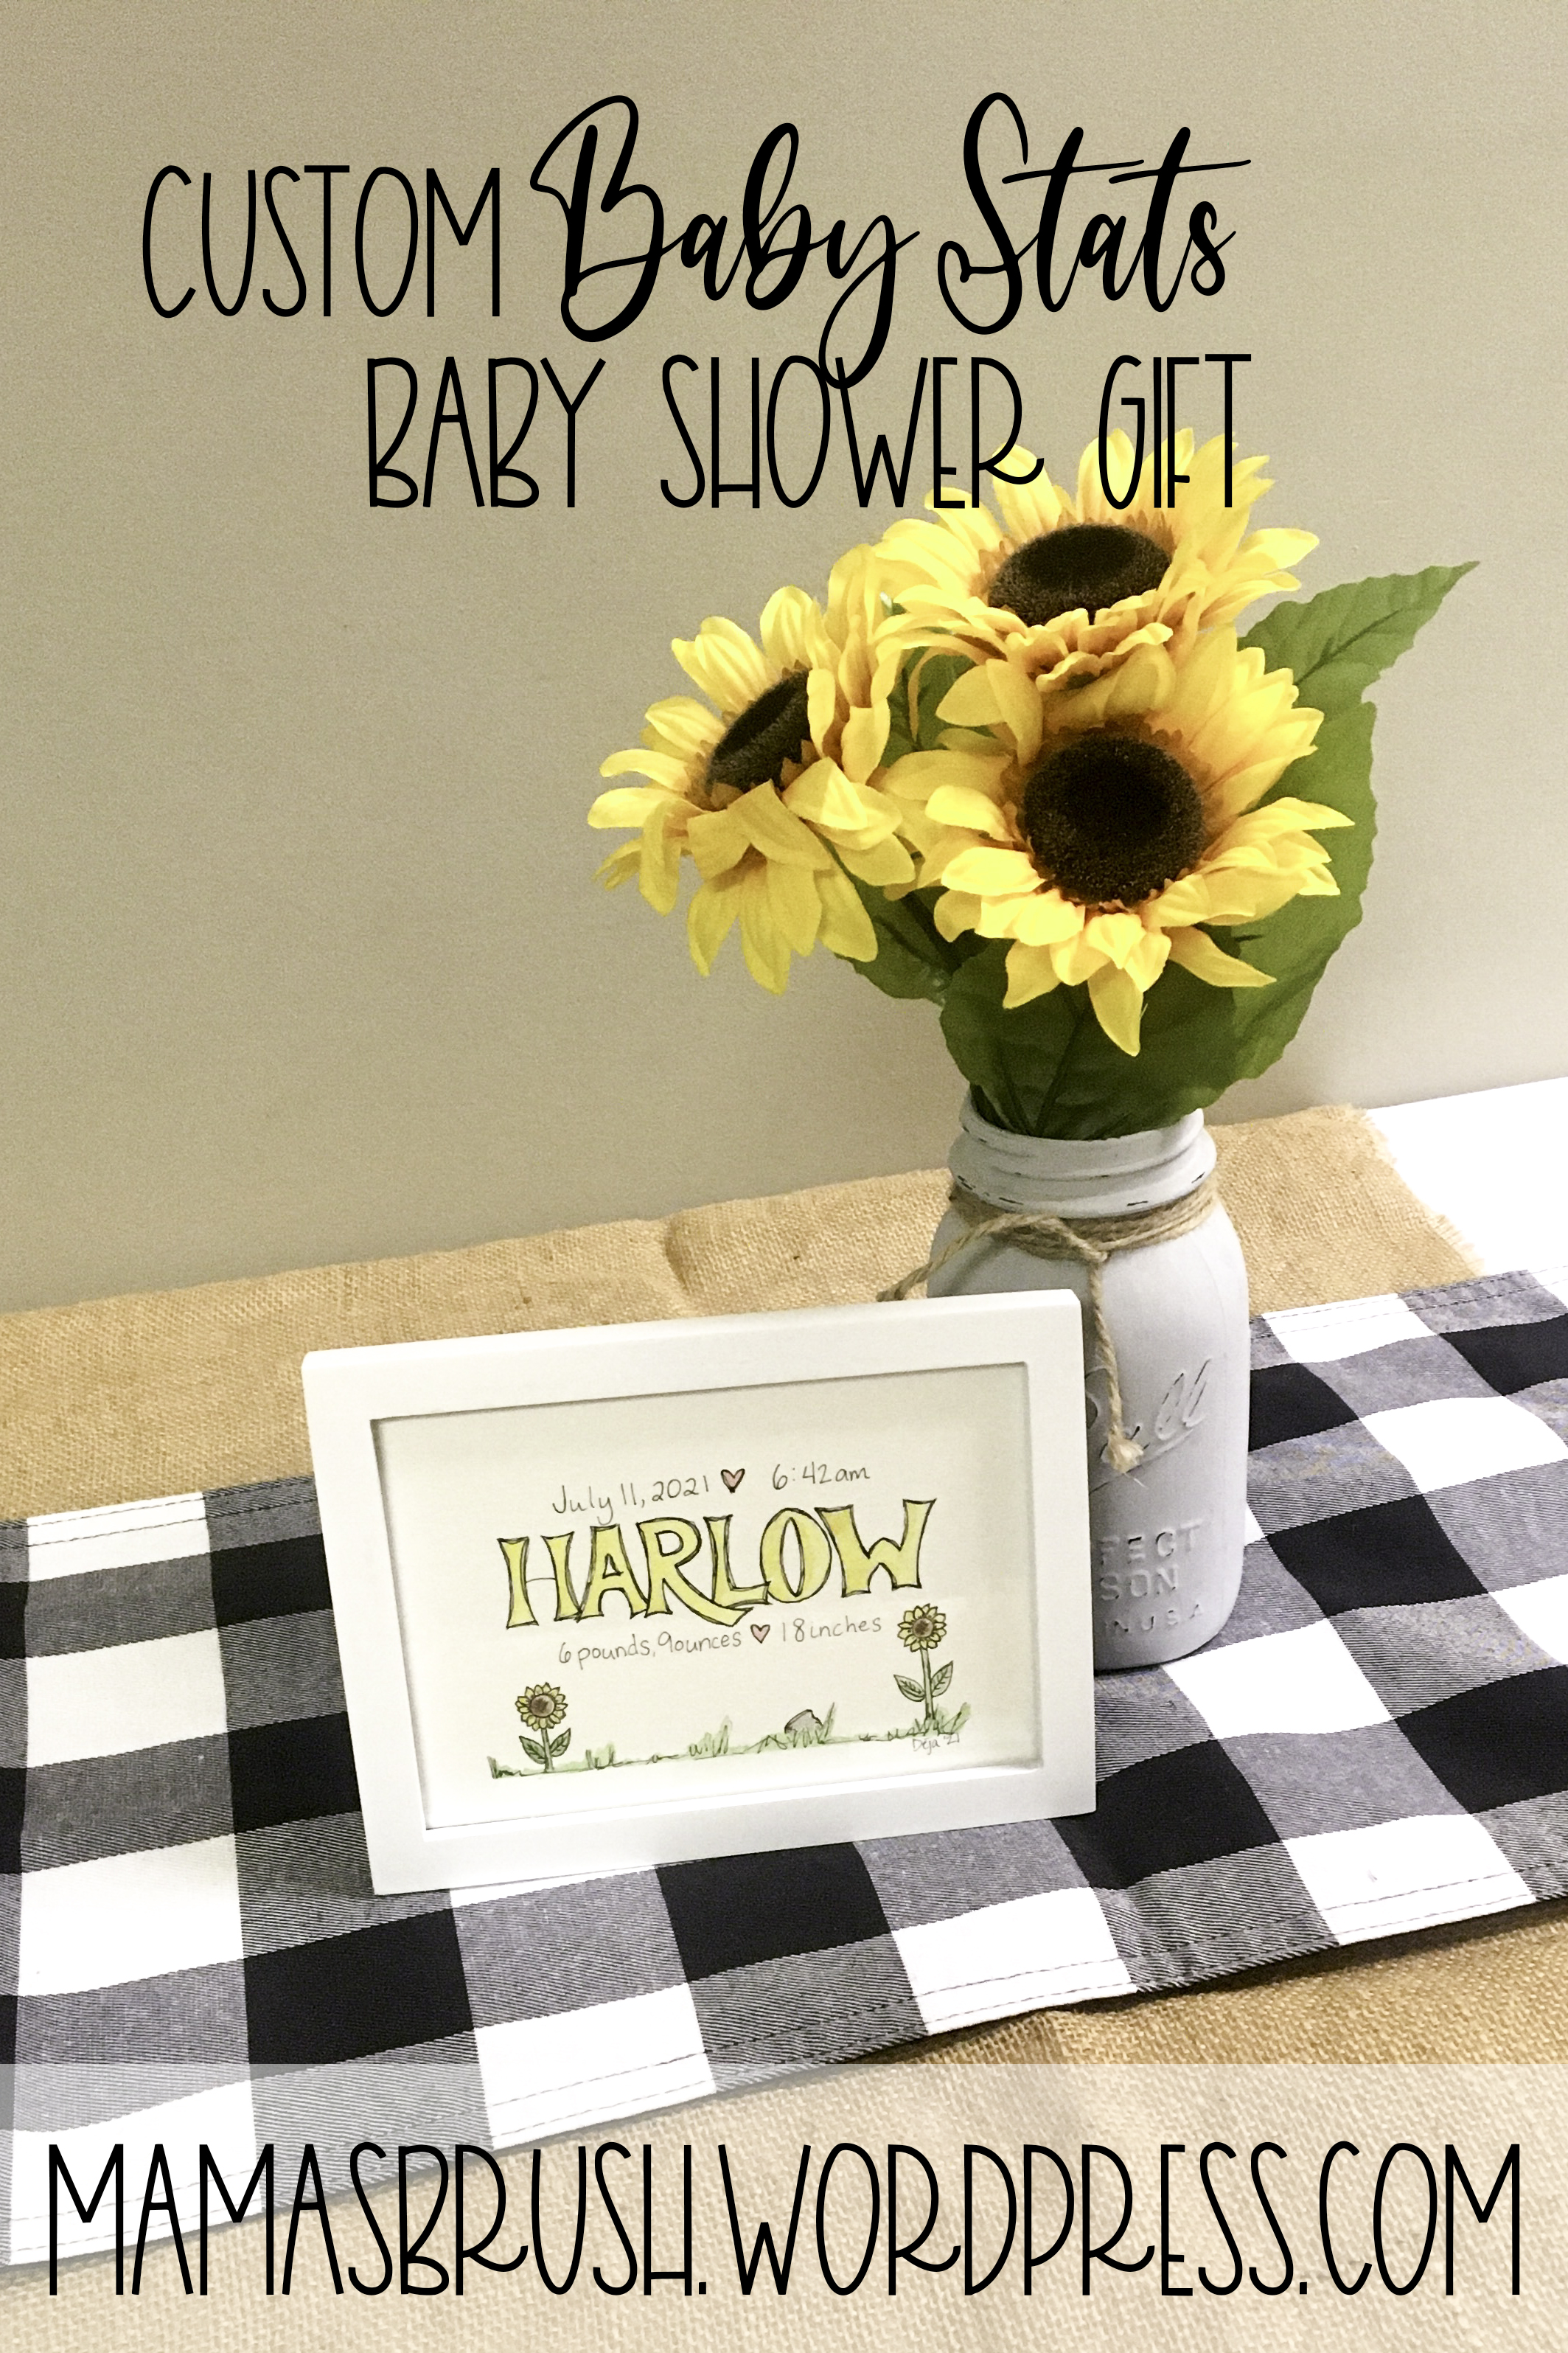
This past July a sweet little baby was born, so with sunflowers as my theme, I sent out invitations and set up the table. This time I decided to try one of my inspiration pins. A cute little idea I’d seen over at one of my favorite illustrator’s. I think it turned out sweet.

Custom Baby Stats Print | mamasbrush #easybabygift #beginningwatercolor #babyshowergift #sunflowerdecor #babystats #yellow

I started by sketching everything out, added watercolor and finished it with my black art pens. Then I added the date and time, weight and length of the baby. 🙂 It makes me smile. We have a new member of our family, so I’m going to try this next one with my digital tablet soon!

If you like my sunflower baby stat print, would you mind pinning the image below or sharing it with other social media? I really appreciate your support!

Custom Baby Stats Print | mamasbrush #easybabygift #beginningwatercolor #babyshowergift #sunflowerdecor #babystats #yellow

You can find me gathering here.

Dressing Up Your Gifts with a Little Something Extra

Like last year, we gifted home infused olive oils to most of our friends and family for Christmas this year. Let me tell you, they were so popular and so fun to do the first time that our list is growing. I think we are already planning to gift them to a few more people next year.

While you can use his post to plan for Christmas next year, I hope it will also be an inspiration for mid-year gifting. The principles are the same whenever (and whatever) you are gifting.We decided to push ourselves to do new flavors this year and are growing in our comfort with the whole process, but, for us, it’s not enough to simply gift infused oils. We wanted them to look amazing and we really think they did!

Dressing Up Your Gifts with a Little Something Extra | mamasbrush  #oliveoil #gifts #homemade #diylabels #gifting #woozybottles #infusedoliveoil

The Gift

Our gift was infused oils. We ordered 5 ounce woozy bottles from a new place this year (not going to say as we weren’t as happy with them). We’ll probably go back to Amazon for that next year even though they were a little more. We also ordered the labels and the heat shrink tops (though these are the ones for wine in a larger size… oops. There is one for the 5 ounce bottle somewhere.) Since they were a little bigger than our bottles, we trimmed them down and they worked fine.

I did the illustrations and the hand lettering for the labels again too. Then I combined all that in Photoshop with another font there and we printed them out.

Your gift could be anything. Something hand crafted in the workshop or baked in your kitchen. Something purchased in a store or ordered online. It can be something you give in mass to everyone on your list or something personally selected for each friend and family member.

Dressing Up Your Gifts with a Little Something Extra | mamasbrush #giftwrapping #presentation #packaging #gifting #makeitspecial #tags #gifttags #diygifttags #watercolorpainting

The Packaging

Then came the hardest part… finding a box that would fit them all just right. Hopefully this next year we won’t procrastinate this again. But in the end, we found something at the Dollar Tree that worked well. We added some spacers between the bottles to make them fit better.

Our boxes weren’t expensive. That isn’t the point. And they don’t have to be fancy. They could be simple brown or white bags if that fits your style or the style of your gift. It could be brown kraft paper wrapping it all up. Or shimmery shiny wrapping paper. Or custom printed wrapping paper for that matter. It doesn’t matter what it is, but consider it. Consider your presentation.

Finishing touches

Dressing Up Your Gifts with a Little Something Extra | mamasbrush #giftwrapping #presentation #packaging #gifting #makeitspecial #tags #gifttags #diygifttags #watercolorpainting

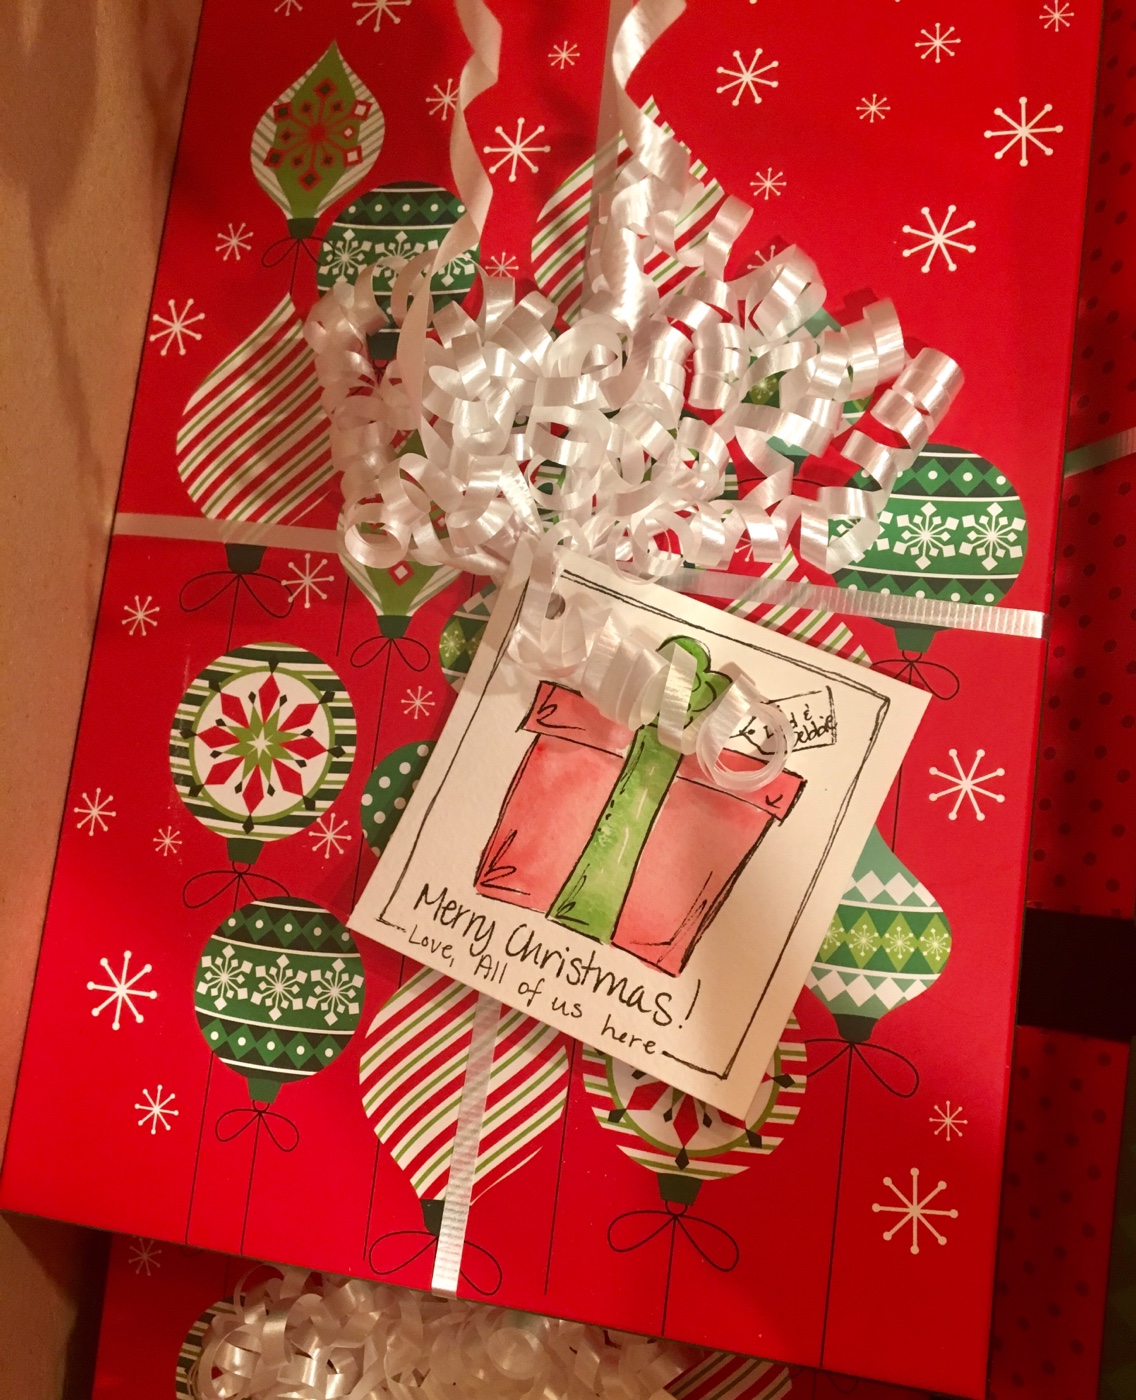
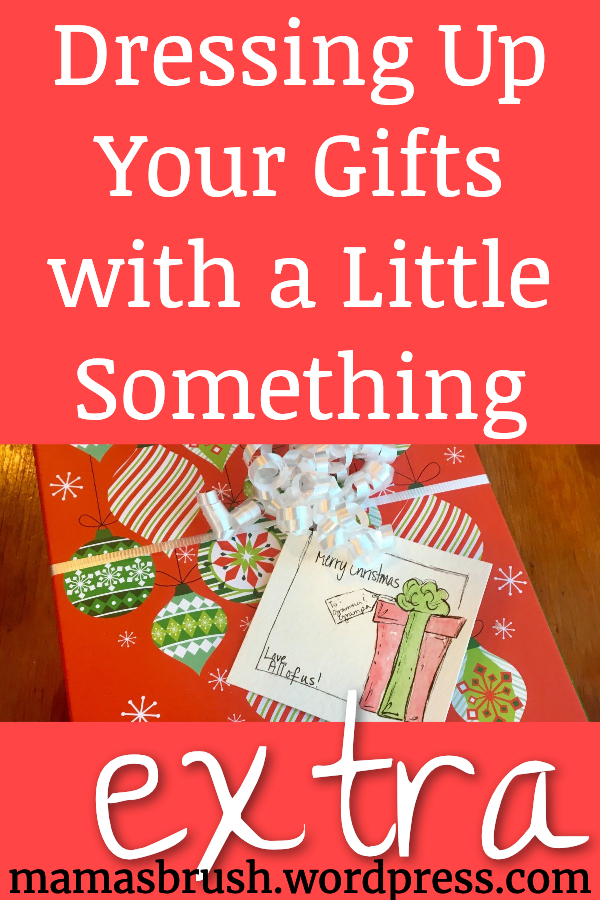
That could have been the end of the packaging. It looked real pretty with all that curling ribbon, but the next part really set it apart. A couple different friends said it really took the whole thing over the top. The hand painted tags. The watercolor illustrations add a sense of whimsy to the whole thing.

If you don’t feel as though you could paint or draw something yourself, there are plenty of fun tags on Pinterest that you could print on nice paper to add whimsy to your gift.

Why the Packaging Matters

Again, you can apply these same principles to any hand made gift, or any gift for that matter. Taking an extra minute to personalize the packaging can make a huge impact. But why? Do we do it so that everyone sees how crafty and creative we are? Is it so that they will talk about our gift longer than everyone elses? If the answer to those questions is yes, then don’t do it. It’s not worth it.

So why do it? They are just going to rip it open and throw it all away anyway. Isn’t it just a waste of time? Honestly, sometimes. Again, this depends on your motives. It has only been in the last few years that I’ve even begun to think about caring what a gift looks like. I’m a throw-it-in-a-gift-bag-with-a-couple-pieces-of-tissue-paper kind of girl. Seriously. It’s how we wrap almost everything for kids etc. around here. It’s faster. I have 6 kids, and when I still had multiple babies and toddlers around, it was the best way. Sometimes it’s still the best way. Really!

But when I can, and when it’s right, spending extra time on the presentation of a gift is just one more way to show love to that friend, family member or {even} stranger you are gifting to. The gift is great. That thought is great. But the extra time to make it special passes that special-ness onto the one who gets the gift.

So what now?

Maybe you aren’t ready for this yet. Maybe you have as much crazy in your life as I do and it’s just not practical. Gifts? What gifts? There were years we didn’t do much in the way of gifts at all. That’s okay. Be where you are. Do what you can. But every once in a while, or when you are ready, step outside your comfort zone and make that one gift special. It’s worth the look on their face when they find out that it is for them!

Pin it Button from mamasbrush
Dressing Up Your Gifts with a Little Something Extra | mamasbrush #giftwrapping #presentation #packaging #gifting #makeitspecial #tags #gifttags #diygifttags #watercolorpainting

Gathering here.

Our Christmas Market Display *where I sold my artwork*

Our Christmas Market Display where I sold my own artwork | mamasbrush #cards #watercolor #Christmas #market #vendor #artwork #penguin #snowman #Christian #church #mistletoe #manger #Jesus #handmade #Display #pallet wood #crafts #painting #Christmas trees

I’ve been away for a while. I know. When deadlines start to stack up, something’s got to give. I admitted up front that painting is what I do in my spare time… when I have some. And when I don’t, there certainly isn’t time to blog… not to mention nothing to blog about! 🙂

One of the things keeping me busy is a quilt that I’m making for my 5 year old son’s 6th birthday (next week). It’s still not done, but it’s closer. 🙂 On top of that, Christmas market was inching nearer. All my *extra* energy was going to those projects during the day and late into the night. No painting… no blogging. No problem!

Our Christmas Market Display where I sold my own artwork | mamasbrush #cards #watercolor #Christmas #market #vendor #artwork #penguin #snowman #Christian #church #mistletoe #manger #Jesus #handmade #Display

But this past weekend was Christmas Market at our church. We took a lot of time the last few weeks working on the children’s projects. They turned out really well.

The small trees on the table were made from lath that came out of our walls during renovation. The blocks are cut from scrap 2x4s my husband used when re-building the walls.

Our Christmas Market Display where I sold my own artwork | mamasbrush #cards #watercolor #Christmas #market #vendor #artwork #Christian #church #manger #Jesus #handmade #2x4 #crafts #painting #Christmas trees #joy

You may notice in the first pictures, that the “J” is missing. Those first couple pictures were taken the night we set up (since the window makes day pictures near impossible) and we had already gathered up all the “J”s to take back home and fix. This is a new project we did this year and I’m especially attached to it because I drew out the letters and the manger shape myself (instead of using the Cricut). When I showed the J-O-Y to my husband, he said we should add “bundle of” to it. After some brainstorming, I thought that little star would be cute! Sadly, they didn’t sell this year, but they could next year, so I tucked them away.

Our Christmas Market Display where I sold my own artwork | mamasbrush #Christmas #market #vendor #artwork #Christian #church #handmade #Display #pallet wood #crafts #painting #Christmas trees

My boys made these cute trees from the old living room floor my husband pulled up in September.

Our Christmas Market Display where I sold my own artwork | mamasbrush #cards #watercolor #Christmas #market #vendor #artwork #penguin #snowman #Christian #church #mistletoe #manger #Jesus #handmade

I’ve sold a few things here and there in past years, but this year I prepared a bunch. These are some of the cards I made. They are original paintings done in watercolor. The plastic bags I have them in made them hard to photograph. 🙂

Our Christmas Market Display where I sold my own artwork | mamasbrush #cards #watercolor #Christmas #market #vendor #artwork #penguin #snowman #Christian #church #mistletoe #manger #Jesus #handmade #tree #display

I also turned some of my past art into notepads. They were a labor of love using this tutorial to bind them.

And those little framed guys in the tiered tray were mine as well. I promised myself I’d have better pictures than I have… but alas. I’ll have to pull the ones I have left out to photograph them for you before putting them in the attic.

Attendance was up this year and we did pretty good. All the money the kids make goes toward summer camp and any that I make goes into the “braces fund.” Any little bit helps! 🙂 The Christmas Market takes a lot of work to prepare for, but it’s something I really enjoy doing. 🙂 And it’s really encouraging to me to find that, not only do people like the art I’ve created, but, they are willing to spend money on it too. 🙂

Pin it Button from mamasbrush
Our Christmas Market Display where I sold my own artwork | mamasbrush #cards #watercolor #Christmas #market #vendor #artwork #penguin #snowman #Christian #church #mistletoe #manger #Jesus #handmade #Display #pallet wood #crafts #painting #Christmas trees

Gathering here.

Apples – Pick Your Own Fall Sign | Hand Lettered and Painted Free Printable

I love love love these printable signs I found over at Clean and Scentsible! I pinned my favorites here. (And that towel… you’ll have to go look. It’s too cute!)

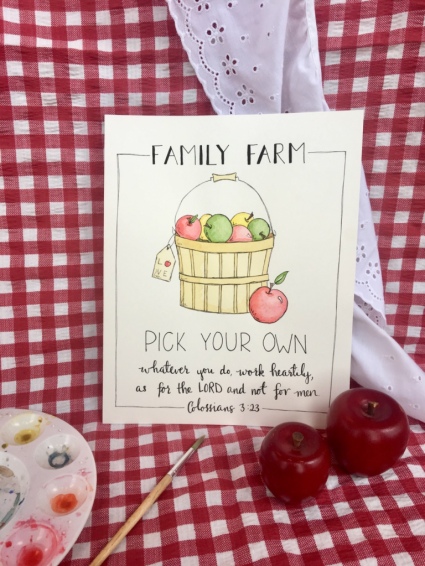
Pick Your Own Fall Apples | Free Printable with hand lettered Colossians 3:23

I tend to steer toward the farmhouse style decor… at least on Pinterest, and these cute signs planted a seed in me to make my own version of them. I just couldn’t let many days go by before I just had to try it with an apple theme. I generally decorate with apples in September. It’s not quite fall, but I’m itching for it to be… apples seem to be a happy medium before my leaves and pumpkins come out at the end of the month.

Pick Your Own Fall Apples | Free Printable with hand lettered Colossians 3:23

I started by sketching this one out. It’s not a “no-sketch” by any means. There were too many elements to get just right. I suppose if you wanted to “no-sketch” it, you could always scan each element in individually and put it together in Photoshop… but I didn’t do that this time. 🙂

I love the look of all the farmhouse signs I see, but when it comes time to buy or make one for myself, I can’t make myself do it. Something always seems to be missing. First of all, I wanted to add a verse to it somehow, but I also wanted to make it more personal. I felt like putting “family farm” at the top fit us better since that’s what we pretend to be. Then I loved how “pick your own” fit the attitude of encouraging the children to help out and take initiative.

Pick Your Own Fall Apples | Free Printable with hand lettered Colossians 3:23

I tried a new watercolor paper this time around. Hot pressed. It’s much smoother and [hopefully] easier to scan and clean up in Photoshop for you all. Shayda recently did a video that talks about the differences in watercolor paper, so I was ready for it to be different. It definitely was different, and it will take some practice, but I think it worked out nicely. Nothing you should be afraid to try for sure. The main reason I decided to try it is that Eileen at My Creative Resolution mentioned in a post (no idea which one… sorry!) that the texture of watercolor paper is hard on artist pens. It was at that moment I understood why my pens never seem to last long! 🙂 An ah-ha moment to be sure! The smooth finish of the hot pressed paper should help them to last longer. And it does scan much nicer!

Pick Your Own Fall Apples | Free Printable with hand lettered Colossians 3:23

I know there are already so many fall printables out there, but I don’t often see these seasonal printables with Bible verses on them, so I want to share them with you in the off chance that any of you are still in the market for a cute apple themed fall printable or have been holding out for one with a verse. Click here to download it and visit my slowly growing printables page for more!

Pin it Button from mamasbrush
Pick Your Own Fall Free Printable

Gathering here.

Recommended Reading:

Get Away to the Mountains – Printable
Keep Calm and Get Cozy – Printable
God’s Got This… Let the Adventure Begin – Printable

Easy Chocolate Truffle Artwork – You can do this!

Easy Chocolate Truffle Artwork - You can do this!

Remember that chocolate themed birthday party I threw for my mom? The one I painted the Chocolate Frosted Cupcake for? Yes, the one I haven’t shown you yet. That’s the one! Good memory!

Well, I painted these cute little truffles for that party too. (Pinspiration here.) Again, part gift-part decoration! She actually hung them up already on the wall in her bathroom in little white frames! Yes… it’s adorable!

Easy Chocolate Truffle Artwork - You can do this!

I painted them with watercolor and added the white with Sharpie Paint Pens. Then I added a touch of black with my Faber Castel thin pen to add shadow and make the white pop. It really helped! Super easy!

You could do this with markers too! Just color in the chocolate with brown marker and then use the white paint pen (a couple coats would help!) and add the black lines at the end. (Keep the black on the same side of the white on all the lines so it has a realistic “shadow” look.) I think they would make adorable greeting cards! Let me know if you try!

Easy Chocolate Truffle Artwork - You can do this!

Looking at them now (I always notice details like this when I look at the picture of whatever I painted, not before) I think I would put the swirl one in the middle to make it seem more balanced, but that’s because I have issues with symmetry. What do you think? Would you switch them out to put the swirl in the middle? Or do you like them as is? Let me know in the comments!

Gathering here.

Recommended Reading:

Custom Chocolate Wrappers
Some February Painting
Custom Conversation Hearts

Something Sweet – Chocolate Frosted Cupcake in Watercolor

Chocolate Frosted Cupcake in Watercolor

This week I spent some time painting sweet things. Chocolate, to be specific. And all for my mom’s birthday.

Sometimes birthday presents don’t need to be wrapped. Don’t get me wrong, there should be some presents to unwrap! But they don’t ALL have to be, do they?

Chocolate Frosted Cupcake in Watercolor

I painted this one for my mom’s birthday this past weekend. Her bathroom is decorated in chocolate. That’s right. Chocolate. No, it’s not dirty fingerprints from over indulgent children. It’s been done on purpose. From a poster on the wall about it’s history, to candles shaped like truffles, and everything in between… chocolate!

Pin it Button from mamasbrush
Chocolate Frosted Cupcake in Watercolor

I thought a chocolate frosted cupcake with a pink liner would match her bathroom perfectly! But it also matched her birthday theme… so instead of wrapping it, I set it out to decorate! 🙂 Double duty!

Gathering here.

Recommended Reading:

Cupcakes – Watercolor Illustration
Let’s Meet Over Coffee – God
Ice Cream Parlor Birthday with Artwork to Match

When Thank You Just Isn’t Enough – Watercolor Thank You Notes

Watercolor Thank You Cards

Sometimes thank you just doesn’t seem like enough. Like when you end up at the children’s hospital with your 11 year old daughter and God pours out blessing upon blessing, mercy upon mercy through the whole thing.

Watercolor Thank You Cards

Or when you arrive to the Intermediate Care Unit and walk off the elevator with the paramedic to see your pastor and his family sitting in the waiting room, waiting for you.

And when they grab McDonalds for you at 9 at night because you haven’t eaten since lunch.

Or when that same pastor leaves church right after preaching to be with you while your little girl is in surgery a couple days later.

Watercolor Thank You Cards

Or when a dozen or more people come together throughout the week to provide child care for the littles at home.

Or for friends who came at a moment’s notice to care for your other children so that you can go be with your girl in the ER asking for her mama. And to get you there so you don’t have to drive.

Other friends who drop everything to drive 2 hours and stay with those 5 children all weekend.

A mama of 5 of her own increases that brood to 10 to bring your children into her home for a couple nights.

Or another who gives up Hershey Park tickets to be with them the night after that.

Grandparents who come from far away to take the rest of the week.

Watercolor Thank You Cards

Or when cards and money are collected at the office to help encourage and provide for gas and meals during your stay.

Or when someone from work brings his wife and a Chic-fil-a dinner to the hospital to visit and encourage you, while your daughter sleeps strait through it.

Or when the gifts start piling in for your girl to make her smile and distract her from pain and sickness. And a gift for her is like a gift for you.

Watercolor Thank You Cards

Or when the Child Life staff at the hospital brings clay to distract her while they change the dressing on her chest tube, or brings a new game to play while they put in a new IV.

Watercolor Thank You Cards

Or when new friends stop in to feed the chickens each morning on their way to work when there isn’t anyone at home.

Or when old friends take baskets of laundry home to wash and return.

Or when lady after wonderful lady bring meals for the kids and their caretakers.

Or when someone at church videos your son in the VBS drama everyday because you can’t be there to see it yourself.

Watercolor Thank You Cards

And when hundreds of people pray earnestly for you and your family, keeping up to date and spreading the word!

After 4 very sick days at home, an urgent care visit, diagnosis of pneumonia, antibiotics, dehydration, and a visit to the ER for fluids, my 11 year old daughter was admitted to the children’s hospital not too far from home. A day and a half later she was continuing to worsen, though they had already changed her antibiotics. A chest tube released a lot of fluid that was building up around her lung (6 cups by weeks end). Finally the antibiotics could do their work.

We spent 9 days in the Acute Care Unit (after 1 in the Intermediate Care Unit) before we were able to take her home to finish her healing. It was a long 10 days away from the rest of the children and our home, but God cared for us and our children every step of the way. We maintained a peace that only comes from God in these circumstances (Philippians 4:6-7) and, though she was very sick and everything going on was super crazy, we never felt like it was out of control. Of course it was in God’s control the whole time.

Watercolor Thank You Cards

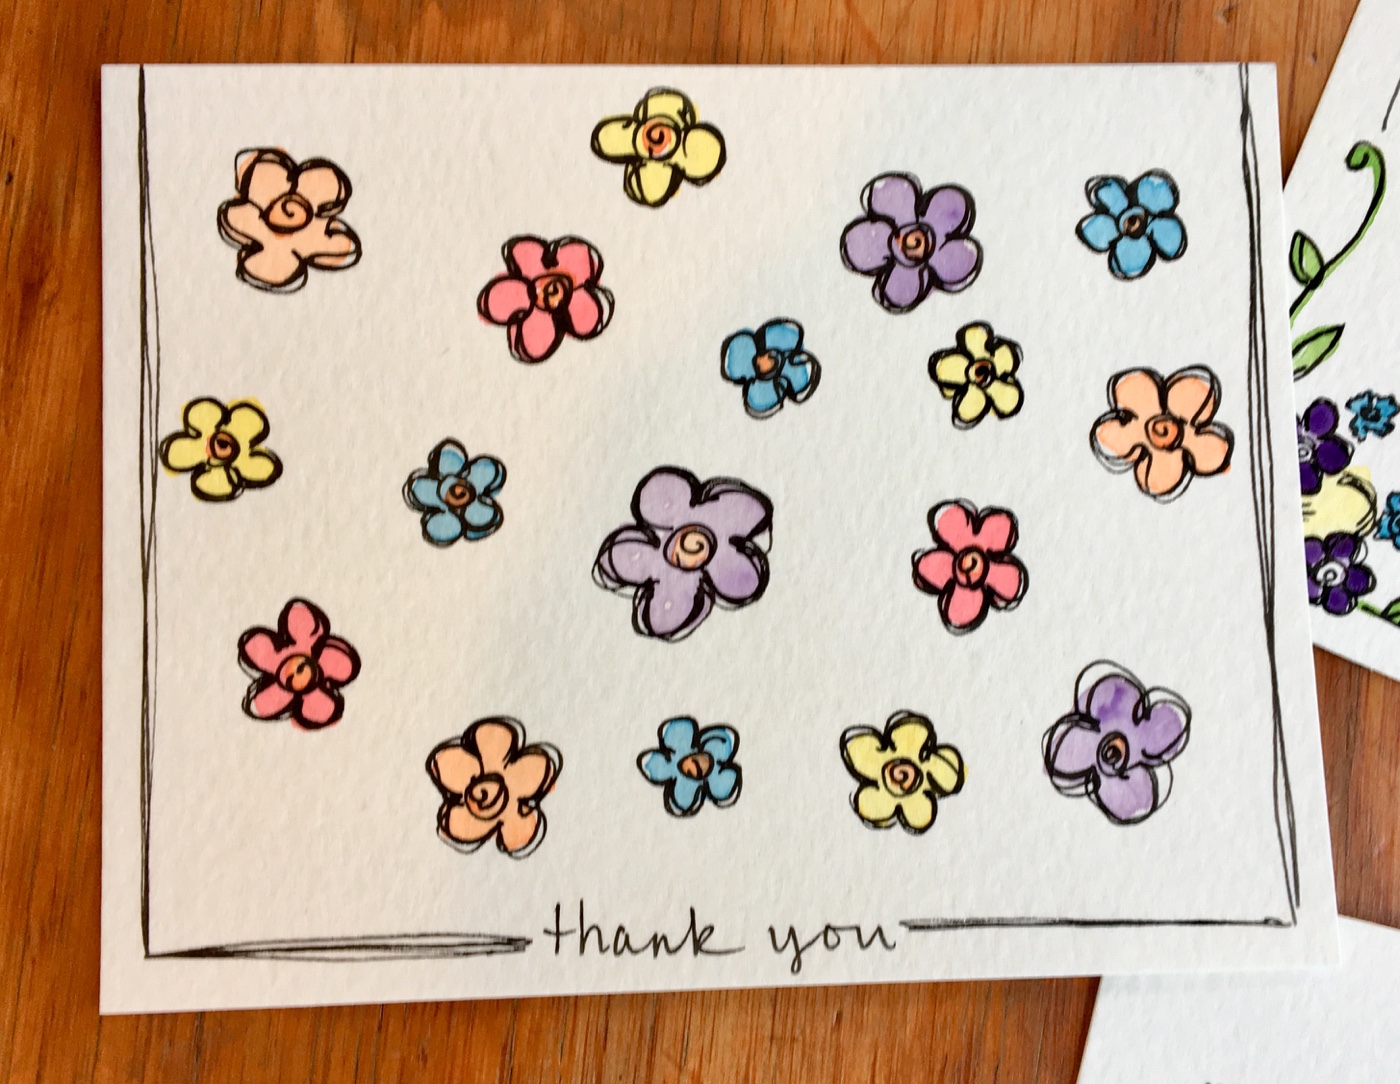
Certainly thank you just isn’t enough, but I wanted to paint some special cards for some of the people who were extra blessings during this time (in addition to one that went out to the whole church and others that we sent out various other ways.

Gathering here.

Recommended Reading:

Watercolor Scripture Cards
Easy Watercolor Cards YOU Can Paint
The Perfect Verse for Newlyweds

Easy Watercolor Flowers YOU Can Paint

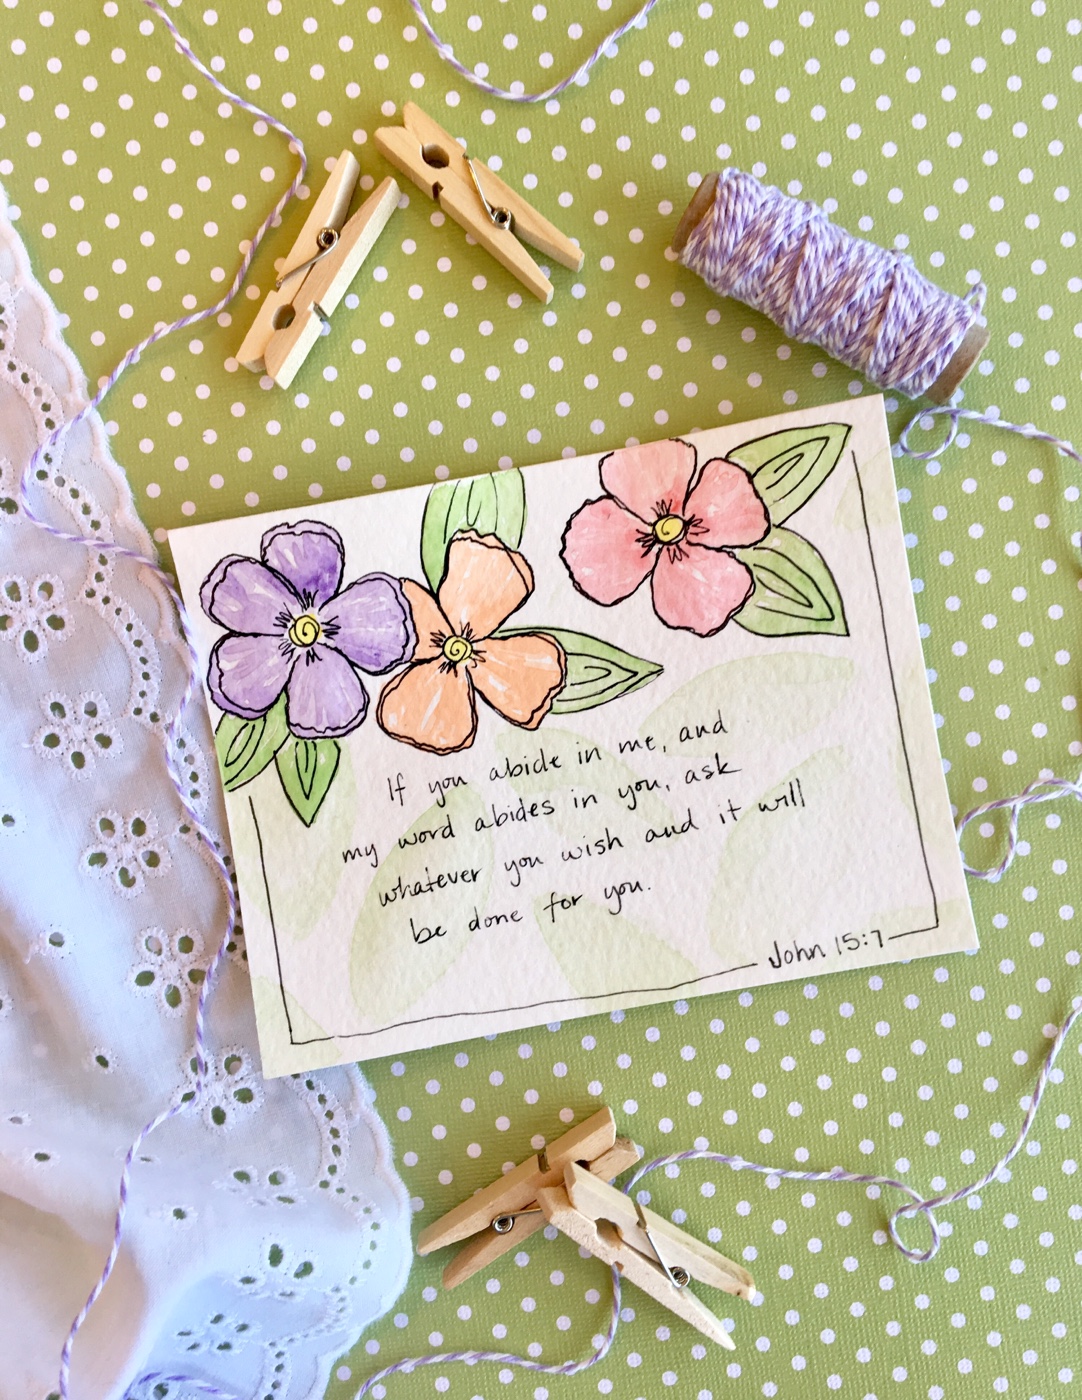
I painted these cards for a party we attended this weekend for a graduate in our church. I sat down Friday night with no inspiration of what I wanted to make. What I ended up with an hour later was easy watercolor flowers YOU can paint. I didn’t start out to make a tutorial (the party was the next day), so I don’t have pictures to share of the process, but I want to talk you through what I did, because these really are Easy Watercolor Flowers YOU Can Paint!

I painted this whole thing without a pencil drawing. This makes it easier for me because I don’t have to worry about getting the petals just right when the time comes.

Getting Started

The first thing I did was to paint yellow dots where I wanted my flowers. If you are making a greeting or verse card, give some thought to where you want your flowers, if you are practicing, just put them anywhere. They would be cute in a semi-strait line across the middle of your work space. Remember to leave space between the centers for the petals for each flower.

Let the yellow paint dry.

Adding Petals

When the centers are dry, you can begin to paint the petals. I chose a color palate ahead of time and thought through where I wanted them. I begin by painting the outline of the petals where I want them, sometimes 4 petals, sometimes 5. You can do what you like.

If the petals aren’t exactly the right size or shape, just add more paint and change them a bit (this is why I like painting with pencilwork first.) When I am filling in the color on the petals, I try to leave white spaces for a little textural interest.

Stems

While allowing the petals to dry I worked on the stems and leaves of this card. I am careful to leave a little gap between the still trying flower and the green of the stem, otherwise the colors will bleed together. I simply used the very tip of one of my size 7,8, or 9 brushes (though you could use a smaller one if you are more comfortable with it.)

I dragged the tip downward from the flower to the bottom of the card. Be careful to draw an imaginary line from the center of your flower through the petals so your stem placement is realistic. Go back and add paint to make it darker, or more water for thicker stems as needed.

Easy Watercolor Flowers YOU Can Paint -- My Creative Process at mamasbrush.wordpress.com

Leaves

I first added leaves to the stemmed flowers because they are further removed from the wet paint of the petals. I chose a very traditional leaf shape and deliberately left them running off the edge of the paper and behind a nearby flower (though you need to make sure the flower it touches is dry first).

Easy Watercolor Flowers YOU Can Paint -- My Creative Process at mamasbrush.wordpress.com

For the leaves on this card, I waited for the petals to dry and added leaves coming from behind the petals. Do you see the faint leaf behind the others on the purple flower on the left? That was the original leaf for that flower and it was way too big. I added a bunch of water and tried lifting the already dry paint with a paper towel, but it didn’t lift all of it. I was a little disappointed that I’d ruined the card, but I moved ahead and added the smaller leaves instead, just for practice.

Fixing “Mistakes”

I set it aside to dry while I worked on other details, and while was working I had an idea. I decided to paint very faint large leaves all over the background of the card. I painted with a lot of water, let it sit a moment or two, then dabbed it up with paper towel. Not only was the card not ruined, it was the one I decided to use for the graduation party. When you find that you’ve made a mistake of your own, set it aside for a bit and see if you can brainstorm a way to make it part of your design. You may just like it better than your intended design! 🙂

Easy Watercolor Flowers YOU Can Paint -- My Creative Process at mamasbrush.wordpress.com

Another layer of color

When everything was dry, I went back in and added another layer of color to each of the elements. For some of the flowers I went around the edges with a darker color (see the purple flower on the bottom card). For others I made streaks of darker color coming out from the middle (the purple flower on the top card. For others still, I gave an extra layer of color on half of each petal. For the leaves, I added another layer (or two) of green on one half of the leaf. There are so many ways to do this, just experiment and see what you like!

Easy Watercolor Flowers YOU Can Paint -- My Creative Process at mamasbrush.wordpress.com

Finishing Touches

This is when I add my pen work. I usually do this the next day, since I do most of my painting late at night. The trick is to make sure your painting is completely dry! For the leaves I think a pointed version of a spiral is fun. For the petals, I trace each one twice, sometimes staying right on top of the first line, other times leaving a gap all around or even just on the end. I think this makes it look like the petals are curved around on the ends. I add some squiggly lines at the base of each petal and a spiral at the center.

My goal for these finishing touches was to make the painting cute and whimsical. If I wanted them to look a little closer to realistic, I may have used dots in the centers and simple vein like lines on the leaves. Go with what you like and have fun! Shayda Campbell once said, if I want it to look exactly right, take a picture. Painting is about giving it your own creative interpretation.

When all was said and done I added the verses I had in mind and the border. Since I was short on time, I just did a simple lettering and added the verse reference into the border as I like to do. I think it worked though. The flowers dressed it up enough and the lettering style didn’t distract from the painting or the message.

So will you try it??

Pin it Button from mamasbrush

Gathering here.

No Sketch Challenge: Watercolor Painting with a Summer Theme

Challenge: No Sketch Watercolor Painting with a Summer Theme

This collection of summer themed watercolor illustrations was a spur of the moment adventure.
The big kids were at summer camp, leaving me with the little three, ages 3-7. It’s been a long time since my oldest was 7. It was quite the adventure, and to be honest, while I had more chores to do without them here, it was like a mini vacation.

The kids wanted to paint, so instead of my usual “no”, I actually said yes. (Point for mom!) I grabbed their paint sets and got them some water and brushes and paper towels. Then I grabbed some for me.

But what would I paint. I don’t paint as much during the summer due to more demands on my energy, less time, and less inspiration. I just get more excited about painting the other seasons I guess.

I started with the little blue crab in the corner. It reminded me of our weekend in St. Michael’s, MD this past fall (you should totally go, by the way, super fun little harbor town!) From there it just sorta turned into a summer theme. I laid down some paint for a handful of illustrations and when one was dry, I added the next color or layer. (I like having more than one painting going at a time for this very reason!)

Challenge: No Sketch Watercolor Painting with a Summer Theme

The catch? Whatever I wanted to paint, I had to start with the watercolors. No pencil sketch first. My reasoning was lazy enough. I didn’t want to take a bunch of extra time getting things laid out. Who knows how long the kid’s attention span would last this time anyway.

Way back in the beginning, when I was just learning to paint, I painted like this all the time. I hadn’t fine tuned (ummm… still haven’t) my drawing skills and I didn’t know any better. I don’t paint like this as much anymore, mostly because I usually have a purpose to my painting and I want to sketch it out first to get the look and layout just right. But it is so fun to just paint. It frees me from the need for perfection (ahem) and lets me experiment. I have to remember two things when I paint this way.

Challenge: No Sketch Watercolor Painting with a Summer Theme

2 things to remember:

  1. It does have to be perfect. Things won’t be laid out just right or centered or anything. (Note the position of the palm tree to the cloud. If I was going to be all crazy, I might wish it was a smidge to the left, but who’s going to be like that?) And the end result doesn’t have to look exactly like the real thing… it’s my creative interpretation. (aka I can do what I want.)
  2. I don’t have to love every illustration in the end. There are a couple little illustrations on here that I really love and will probably scan for use later, or at least try to paint again sometime. (I think that tiny firefly is just adorable!) Others, I wasn’t happy with at all, and if I do them again, it will be to improve upon them. (The bee needs a lot of work people!)

So now it’s your turn! Grab a set of watercolor paints (your kid’s are fine!) some water and paper (I began my painting adventures with card stock if that’s all you have) and just start painting. It helps to have an idea or theme in mind to get you started, but paint anything you want. No sketching! And have fun!

Leave me a link to the pic in the comments if you upload it somewhere! I’d love to see it!

Pin it Button from mamasbrush
Challenge: No Sketch Watercolor Painting with a Summer Theme

Gathering here.