Turns out I had to come up with my own plan for this hiking theme cake. I searched and searched for ideas. I have some on my Hiking Party Board, but nothing was going to work with the time available and I didn’t need 30 people worth of cake. In addition to that, I made a camping theme cake several years ago for the same kid, so I wanted it to be different. (aka no tents)
As I mentioned earlier this week, the end of July we spent with our oldest daughter in the hospital, leaving very little time for preparing for this birthday. I made the cake (from a box mix) the night before, but I set the temperature wrong and it turned out dry. This set me behind. Usually I freeze the cakes before assembling and frosting them, but after our birthday breakfast we made a new cake (thankfully we had a back up box of cake mix!) and set it to cool on the counter.
First of all, I baked the cake with these even-bake strips from Wilton. They help the cake to rise more evenly. After lunch I was ready to begin frosting the cake. I leveled my cake layers like this (a great video about leveling and frosting cake layers.) I set the tops off to the side to be used later (I had to guard them well as there were several children floating around looking for scraps. )
Frosting the layers was little trickier since they weren’t frozen, but it worked. I did something different for me this time and used a piping bag to pipe the frosting between the layers. (Here is another great video about frosting cakes.) Piping it on helped greatly since the cake wasn’t frozen and was apt to fall apart as I spread. I’m still not great at all the techniques of cake decorating, but I’m having fun learning with each new birthday. 🙂
The Layers
[Ack! There are no pictures of the process. Time was short and I was working as fast as I could to get done in time for an early dinner and celebration. But I’ve drawn pictures for you… I hope they help!]
One of the cakes was falling apart on one side (whether this happened coming out of the pan or with the help of one of my smaller children is undecided). It worked out though, because I used that spot, after the second layer was on, to cut and shape a slope out of that layer down to toward the first layer(see diagram… these are not to scale!!).
Then I frosted only part of the top in a semi-circular way. Then I placed one of the cake tops (saved from before) on top of the frosting and trimmed away the cake that went over the side.
I then added frosting to that layer and repeated with the second cake top saved from before, but I offset it even further (see diagram… still not to scale!!). Then I trimmed away the rest of the cake top and handed out scraps to the hovering children.
This is what it looked like from the side when all the layers were ready.
I then applied the crumb coat and stuck it in the freezer for 20-30 minutes to harden so that I could finish the decorations (and make more frosting.)
I frosted the whole thing with a light green buttercream frosting I made from scratch.
the Creek
On top of that I used blue cookie frosting we already had on hand. I don’t recommend this particular icing, though, because it took a long time to set and ended up sagging down the slope after the pictures were taken. I can already tell in this photo that it had begun. I picked a random place on the cake for the creek and worked a line across the cake and down to the cake plate. Then I just did that several more times to make it thicker . The lines of it melded together nicely.
The Path
I mixed in some white buttercream with chocolate frosting I had in the freezer, left over from another birthday, and it made for a nice “path” color. I piped that onto the cake, making sure to cross the creek, and ended it in a larger area at the top. The kids decided that the picnic tables would go there (the imaginary ones). 🙂 My oldest son figured out how to cut a pretzel so that we could use it for the bridge. Good luck with that, mine kept breaking! 🙂
The trees
For the trees on the cake I used left over Cupcake Icing we had from another birthday and used the star tip that came with it. I don’t know what color it was because I used the last of it and threw it away, but it was super handy for a quick decorating job. You could do the same thing, though, by making your own frosting and using a star tip. It worked a lot like “spray cheese.” I made both the trees on top of the cake and the ones on the tall side of the cake. Then I put “bushes” around the cake on both sides of the creek until I ran out. The trunks on the back trees are the chocolate frosting I had kept back before adding the buttercream to make the lighter brown for the path.
A few hints on tree placement:
1. I put several “trees/bushes” close together at the start of the creek to give the illusion that it started there in a hidden spring under the trees.
2. I put a tree in the crook of the path to give a reason for the sharp bend in the path.
3. I put several trees at the top around the “eating area” of “path” frosting to mimic a shady picnic area.
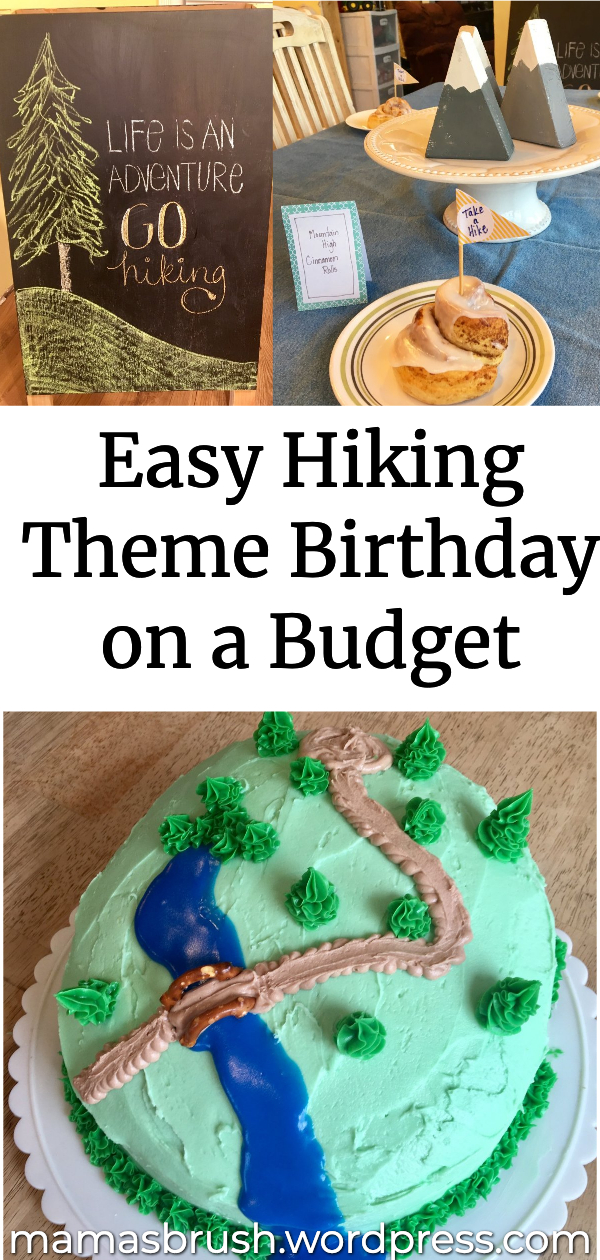
Do you have an event coming up that could use a sloped mountain or hiking cake?? Pin it for later. 🙂
Gathering here.
Recommended Reading:
Easy Hiking Birthday Theme on a Budget
Mountain Rice Krispies Treats
Birch Log Pretzels
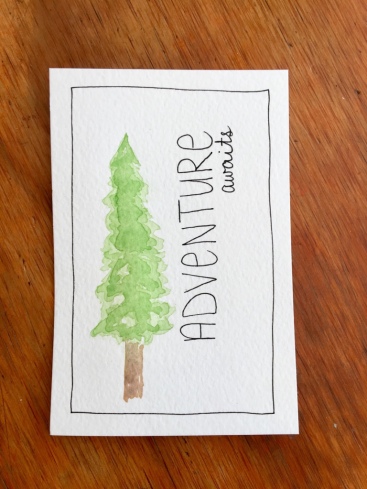
Get Away to the Mountains Simple Watercolor Painting