Anna’s Wedding Bouquet: Digital Planner Stickers

Anna's Wedding Bouquet Inspiration | Wedding Invitation | from mamasbrush designs

Last year I had the joy and privilege to design the wedding invitation for a sweet couple in our church. I brought out my paints and paper and went to work. It was so fun! With some back and forth between us, I think the end result was beautiful! Shown here are the two options for the RSVP/Registry card. She picked the back one, but I wanted to share both with you.

In the last 5-6 months I’ve been working on a big project. One of my biggest so far, in fact. I’ve turned Anna’s wedding invitation into an entire design collection, complete with a second colorway. I’m working on the finishing touches to the collection for fabric, but while I’m waiting for that, I’ve followed this line of inspiration to some new places.

Today I would like to introduce…

Digital Planner Stickers | Anna's Wedding Bouquet from mamasbrush designs

Add a romantic and beautiful feel to your everyday digital world.

Anna’s Wedding Bouquet Digital Planner Stickers by mamasbrush designs.

These stickers are designed for use on your tablet’s digital planner/calendar/bullet journal in your note taking app, but they can also be used on any computer where PNG files can be used (not suitable for printing). They aren’t just for weddings, but add a romantic and beautiful feel to your everyday digital world.

As always, I want to offer my readers an opportunity to get these stickers at 33% off for the first week I have them in my Etsy shop. Enter coupon code ANNASTICKERS33 or click this link to have the discount taken automatically through April 15, 2022.

Like it? Please pin the image below! Thanks for your support!

You can find me gathering here.

Fall Harvest Birthday Party My {Young} Children Gave Me

For months my children (ages 4-12) have been dreaming up their birthday plans for me. I always make a big deal of their birthdays (in inexpensive and homemade ways) and they are getting old enough to want to do what I do… for me. It’s pretty cool.

They have help. My mom helps with brainstorming and shopping and any crafting. The day of, they kick me out of the house (I go down to my mom’s house [converted from a detached garage] and take a shower… ahhhh… happy birthday to me!) so they can decorate.

Pumpkin Cake - Fall Harvest Birthday Party My Children Gave Me | mamasbrush | #birthday #party #harvest #fall #cake #sweets #pumpkins

This year they baked a cake. Due to a flop the previous day, I helped the little kids make the cake that morning and the big kids decorated it with my mom in the afternoon when she was home from work. It turned out really cute!

Fall Harvest Birthday Party My Children Gave Me | mamasbrush | #birthday #party #harvest #fall #centerpiece #scarecrow #pumpkins #gourds #floralarrangement #decorations #decor

They colored pictures for the walls and put together a centerpiece according to the theme.

Fall Harvest Birthday Party My Children Gave Me | mamasbrush | #birthday #party #harvest #fall #chalkboard #kidart #pumpkins #handlettering

This year they even put my chalkboard to use! Isn’t it adorable! They all helped in some way. Keep in mind that the oldest is 12 and the youngest had just turned 4.

Thank you babies for a wonderful birthday!

[Most of this post was finished back at the end of September, but life got busy and the blog (as necessity demands) is the first thing to go. (I haven’t been painting either!) I just popped in to work on some new posts when I discovered that this one had never been finished. So here it is. Hopefully there will be another this week, and they we’ll see how life settles in. I miss sharing… and having things to share!]

Blessings,
Babychaser

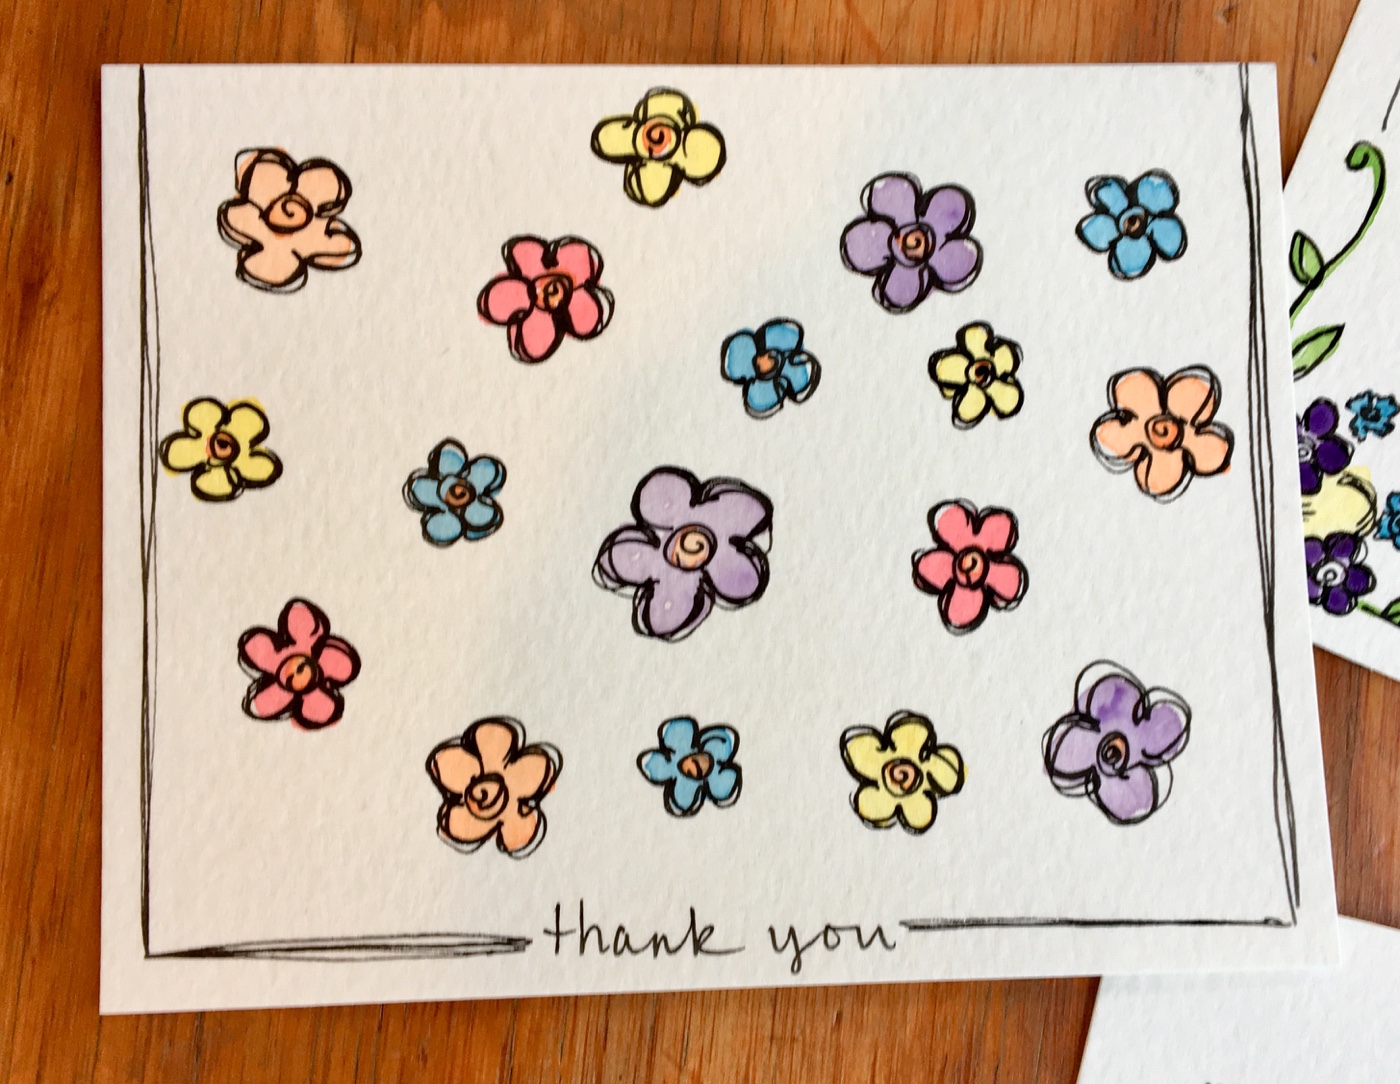
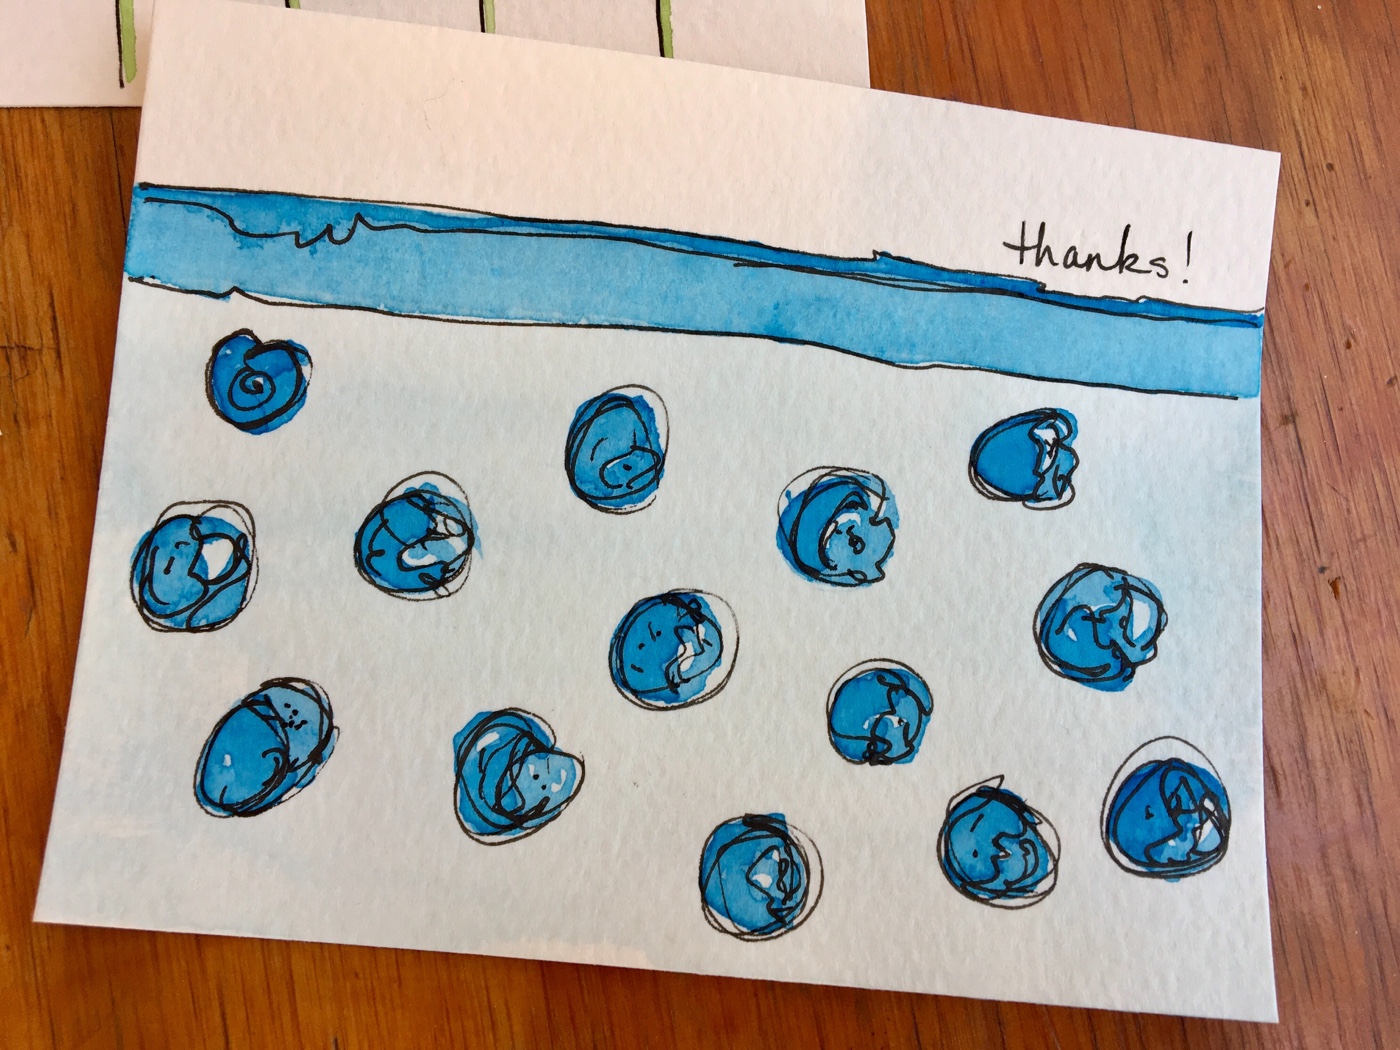
When Thank You Just Isn’t Enough – Watercolor Thank You Notes

Watercolor Thank You Cards

Sometimes thank you just doesn’t seem like enough. Like when you end up at the children’s hospital with your 11 year old daughter and God pours out blessing upon blessing, mercy upon mercy through the whole thing.

Watercolor Thank You Cards

Or when you arrive to the Intermediate Care Unit and walk off the elevator with the paramedic to see your pastor and his family sitting in the waiting room, waiting for you.

And when they grab McDonalds for you at 9 at night because you haven’t eaten since lunch.

Or when that same pastor leaves church right after preaching to be with you while your little girl is in surgery a couple days later.

Watercolor Thank You Cards

Or when a dozen or more people come together throughout the week to provide child care for the littles at home.

Or for friends who came at a moment’s notice to care for your other children so that you can go be with your girl in the ER asking for her mama. And to get you there so you don’t have to drive.

Other friends who drop everything to drive 2 hours and stay with those 5 children all weekend.

A mama of 5 of her own increases that brood to 10 to bring your children into her home for a couple nights.

Or another who gives up Hershey Park tickets to be with them the night after that.

Grandparents who come from far away to take the rest of the week.

Watercolor Thank You Cards

Or when cards and money are collected at the office to help encourage and provide for gas and meals during your stay.

Or when someone from work brings his wife and a Chic-fil-a dinner to the hospital to visit and encourage you, while your daughter sleeps strait through it.

Or when the gifts start piling in for your girl to make her smile and distract her from pain and sickness. And a gift for her is like a gift for you.

Watercolor Thank You Cards

Or when the Child Life staff at the hospital brings clay to distract her while they change the dressing on her chest tube, or brings a new game to play while they put in a new IV.

Watercolor Thank You Cards

Or when new friends stop in to feed the chickens each morning on their way to work when there isn’t anyone at home.

Or when old friends take baskets of laundry home to wash and return.

Or when lady after wonderful lady bring meals for the kids and their caretakers.

Or when someone at church videos your son in the VBS drama everyday because you can’t be there to see it yourself.

Watercolor Thank You Cards

And when hundreds of people pray earnestly for you and your family, keeping up to date and spreading the word!

After 4 very sick days at home, an urgent care visit, diagnosis of pneumonia, antibiotics, dehydration, and a visit to the ER for fluids, my 11 year old daughter was admitted to the children’s hospital not too far from home. A day and a half later she was continuing to worsen, though they had already changed her antibiotics. A chest tube released a lot of fluid that was building up around her lung (6 cups by weeks end). Finally the antibiotics could do their work.

We spent 9 days in the Acute Care Unit (after 1 in the Intermediate Care Unit) before we were able to take her home to finish her healing. It was a long 10 days away from the rest of the children and our home, but God cared for us and our children every step of the way. We maintained a peace that only comes from God in these circumstances (Philippians 4:6-7) and, though she was very sick and everything going on was super crazy, we never felt like it was out of control. Of course it was in God’s control the whole time.

Watercolor Thank You Cards

Certainly thank you just isn’t enough, but I wanted to paint some special cards for some of the people who were extra blessings during this time (in addition to one that went out to the whole church and others that we sent out various other ways.

Gathering here.

Recommended Reading:

Watercolor Scripture Cards
Easy Watercolor Cards YOU Can Paint
The Perfect Verse for Newlyweds

Easy Watercolor Flowers YOU Can Paint

I painted these cards for a party we attended this weekend for a graduate in our church. I sat down Friday night with no inspiration of what I wanted to make. What I ended up with an hour later was easy watercolor flowers YOU can paint. I didn’t start out to make a tutorial (the party was the next day), so I don’t have pictures to share of the process, but I want to talk you through what I did, because these really are Easy Watercolor Flowers YOU Can Paint!

I painted this whole thing without a pencil drawing. This makes it easier for me because I don’t have to worry about getting the petals just right when the time comes.

Getting Started

The first thing I did was to paint yellow dots where I wanted my flowers. If you are making a greeting or verse card, give some thought to where you want your flowers, if you are practicing, just put them anywhere. They would be cute in a semi-strait line across the middle of your work space. Remember to leave space between the centers for the petals for each flower.

Let the yellow paint dry.

Adding Petals

When the centers are dry, you can begin to paint the petals. I chose a color palate ahead of time and thought through where I wanted them. I begin by painting the outline of the petals where I want them, sometimes 4 petals, sometimes 5. You can do what you like.

If the petals aren’t exactly the right size or shape, just add more paint and change them a bit (this is why I like painting with pencilwork first.) When I am filling in the color on the petals, I try to leave white spaces for a little textural interest.

Stems

While allowing the petals to dry I worked on the stems and leaves of this card. I am careful to leave a little gap between the still trying flower and the green of the stem, otherwise the colors will bleed together. I simply used the very tip of one of my size 7,8, or 9 brushes (though you could use a smaller one if you are more comfortable with it.)

I dragged the tip downward from the flower to the bottom of the card. Be careful to draw an imaginary line from the center of your flower through the petals so your stem placement is realistic. Go back and add paint to make it darker, or more water for thicker stems as needed.

Easy Watercolor Flowers YOU Can Paint -- My Creative Process at mamasbrush.wordpress.com

Leaves

I first added leaves to the stemmed flowers because they are further removed from the wet paint of the petals. I chose a very traditional leaf shape and deliberately left them running off the edge of the paper and behind a nearby flower (though you need to make sure the flower it touches is dry first).

Easy Watercolor Flowers YOU Can Paint -- My Creative Process at mamasbrush.wordpress.com

For the leaves on this card, I waited for the petals to dry and added leaves coming from behind the petals. Do you see the faint leaf behind the others on the purple flower on the left? That was the original leaf for that flower and it was way too big. I added a bunch of water and tried lifting the already dry paint with a paper towel, but it didn’t lift all of it. I was a little disappointed that I’d ruined the card, but I moved ahead and added the smaller leaves instead, just for practice.

Fixing “Mistakes”

I set it aside to dry while I worked on other details, and while was working I had an idea. I decided to paint very faint large leaves all over the background of the card. I painted with a lot of water, let it sit a moment or two, then dabbed it up with paper towel. Not only was the card not ruined, it was the one I decided to use for the graduation party. When you find that you’ve made a mistake of your own, set it aside for a bit and see if you can brainstorm a way to make it part of your design. You may just like it better than your intended design! 🙂

Easy Watercolor Flowers YOU Can Paint -- My Creative Process at mamasbrush.wordpress.com

Another layer of color

When everything was dry, I went back in and added another layer of color to each of the elements. For some of the flowers I went around the edges with a darker color (see the purple flower on the bottom card). For others I made streaks of darker color coming out from the middle (the purple flower on the top card. For others still, I gave an extra layer of color on half of each petal. For the leaves, I added another layer (or two) of green on one half of the leaf. There are so many ways to do this, just experiment and see what you like!

Easy Watercolor Flowers YOU Can Paint -- My Creative Process at mamasbrush.wordpress.com

Finishing Touches

This is when I add my pen work. I usually do this the next day, since I do most of my painting late at night. The trick is to make sure your painting is completely dry! For the leaves I think a pointed version of a spiral is fun. For the petals, I trace each one twice, sometimes staying right on top of the first line, other times leaving a gap all around or even just on the end. I think this makes it look like the petals are curved around on the ends. I add some squiggly lines at the base of each petal and a spiral at the center.

My goal for these finishing touches was to make the painting cute and whimsical. If I wanted them to look a little closer to realistic, I may have used dots in the centers and simple vein like lines on the leaves. Go with what you like and have fun! Shayda Campbell once said, if I want it to look exactly right, take a picture. Painting is about giving it your own creative interpretation.

When all was said and done I added the verses I had in mind and the border. Since I was short on time, I just did a simple lettering and added the verse reference into the border as I like to do. I think it worked though. The flowers dressed it up enough and the lettering style didn’t distract from the painting or the message.

So will you try it??

Pin it Button from mamasbrush

Gathering here.

How to Style Patriotic Shelves for Cheap!

Today I’d like to share the patriotic shelf decor in my kitchen. Last fall my sweet husband made me these great shelves out of beams he removed from our old farmhouse fixer upper. I really LOVE them! They are American Chestnut… just beautiful! And it has been such a joy to play at decorating them for the seasons. (Check out how I styled them for Valentine’s Day.)

I styled them easily for fall and Christmas because I have a lot of decorations for those (though apparently I didn’t blog them. Sorry! I’ll try to do better this year.) But I’ve found that I don’t have much in the way of decor for the patriotic part of summer. While I’d love to go out and get everything I “need” for an amazingly decorated patriotic house, it’s just not practical. In reality, most of my house isn’t far beyond demolition and begs more for tidiness than for decoration. These shelves are a cute little space where I can bring in some seasonal fun. And I try to do it for as little money as possible.

My picks

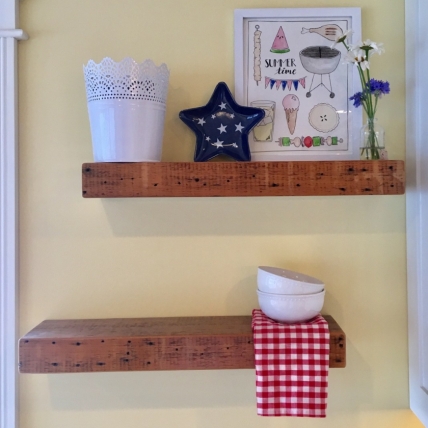
Starting from left to right, I found that medal, lacy looking bucket at Joann Fabrics in the spring collection 50+% off during a big Easter sale this spring. I’ve had something similar on my list for a while, so I spent the last of a gift card on it. I picked white over the mint green or pink so that I can use it throughout the year and not worry about storing it. It will probably travel around the house for various seasons and holidays.

Patriotic Shelf Decor for my summer kitchen and 4th of July

The artwork in the middle is one I created this year. (Head over here to grab up your own free copy!) I’m really happy with how it brings a summery feel to the kitchen.

The little jar with flowers in it I “stole” from my mom’s stash of little jars she keeps “just ’cause they are cute and we may want them for something.” And the flowers my 11 year old grows in our garden. Whenever they get tired looking, we just pick some new ones and bring them in. The colors are perfect! Forgive the pollen around them on the shelf… we can’t see it from where we stand. Apparently the shelves need a dusting. 🙂

And that cute star is another new purchase ($3ish). Our favorite grocery store, Wegmans, is selling them this spring for the summer season. It’s melamine, which I don’t usually use, but I just bought the one for putting on my shelf. (One or two little new things each year isn’t too bad on the budget.)

Patriotic Shelf Decor for my summer kitchen and 4th of July

Negative Space is okay

I’ll admit, I was starting to fret over not having “enough” to put on my shelves. Once I brought out everything I had for the Memorial Day/ Independence Day season, I was left with a sparse feel. What I wanted was a little layering. Instead of just laying everything out in a line to fill the space, I put some things behind and others in front. And wala, I didn’t have anything on the bottom shelf. So I did one more look around my kitchen.

Patriotic Shelf Decor for my summer kitchen and 4th of July

There was that single red check napkin and a couple of little dessert bowls from my new “fancy” dish set. I put them by themselves on the bottom shelf and the negative space beside it has really grown on me. I think it gives it a clean de-cluttered feel without feeling naked or bare.

The take away

When I begin styling, I start by gathering anything I have (however little or much) that may fit the theme. For the patriotic theme, I pulled together anything in red, white and blue. Different textures, heights, and thicknesses help. You don’t have to use it all, but just seeing things together may inspire you. If something doesn’t fit, put it away again.

Begin by putting the biggest items up first, then the middle sized things, and finish out with the smaller ones. Keep moving them around until it makes you smile. Sometimes this may take a couple days of playing with it. That’s okay too.

How do you style your favorite seasonal space for summer?

Pin it Button from mamasbrush
Patriotic Shelf Decor for my summer kitchen and 4th of July

Gathering here.

Spring Bunnies with Carrots and Tulips – Watercolor Art

“Paint bunnies mommy,” suggested one of my little guys at bedtime the other evening.

Spring Bunnies with Carrots and Tulips - Watercolor Art - by mamasbrush

“With flowers!” Added one of my girls…

Spring Bunnies with Carrots and Tulips - Watercolor Art - by mamasbrush

“With Carrots!” Corrected another of my boys…

Spring Bunnies with Carrots and Tulips - Watercolor Art - by mamasbrush

And so mommy painted bunnies with carrots and flowers.

Pin it Button from mamasbrush
Spring Bunnies with Carrots and Tulips - Watercolor Art - by mamasbrush

Gathering here.

February Art Journal Prompts – Week 3

February Art Journal Prompts Week 3

I had a lot of fun with week three of the February Prompts from Awesome Alice. Let’s get to them…

Chocolate Chip Cookie in Watercolor
Prompt: Cookie
Watercolor Flowers - Journal Prompt
Prompt: Flowers

I did these flowers without a sketch. I just jumped in with the watercolors and added the lines later. I don’t do a lot of these, so they were outside my comfort zone a little. I could have done a simple flower (what I would normally do), but I wanted to use this opportunity to push myself. That is what this exercise is all about for me after all. 🙂

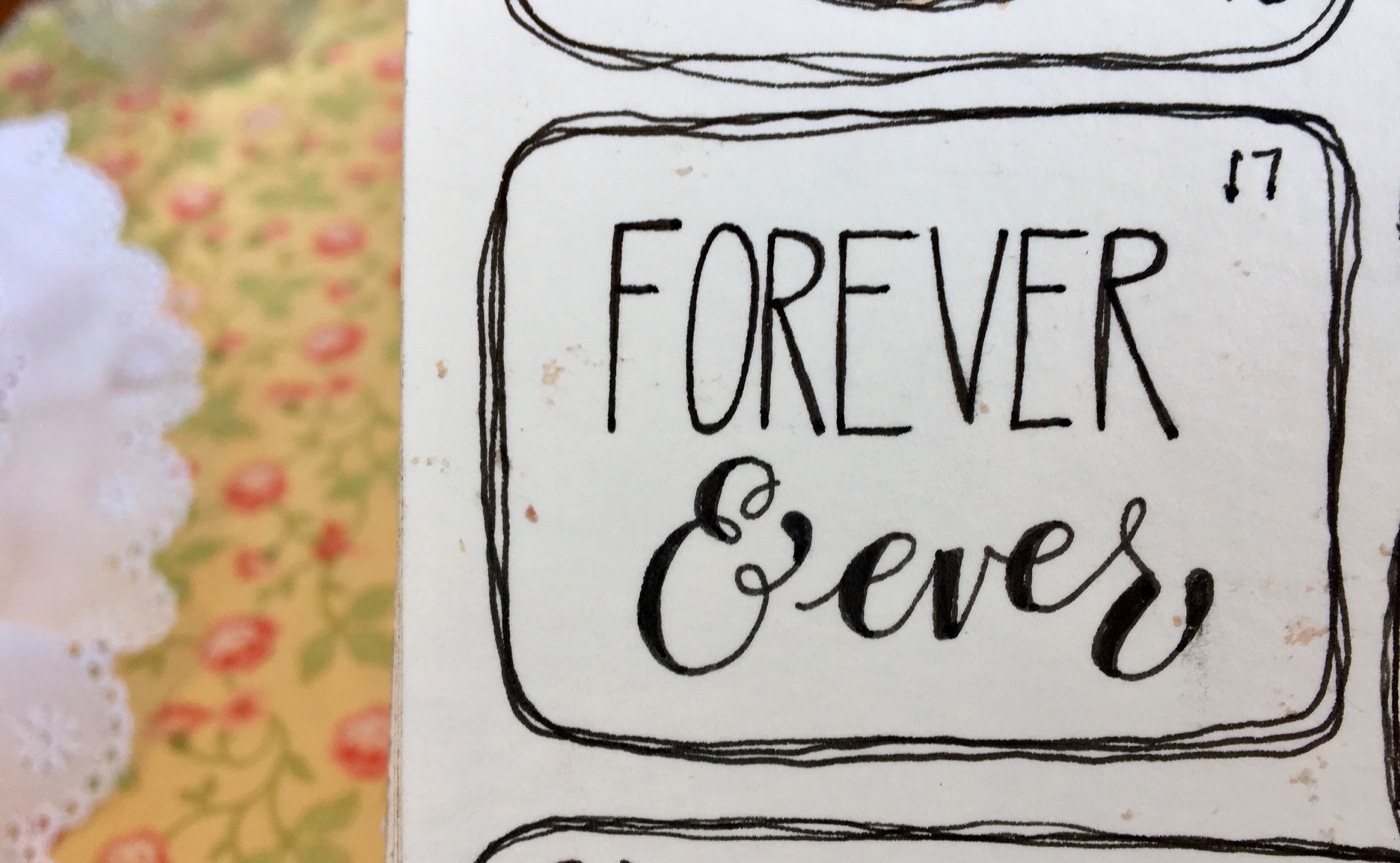
Forever and Ever - Hand lettered
Prompt: Forever and Ever
Oh My Darlin' Clemintine Hand lettered - Prompt: Darling
Prompt: Darling

My children keep asking if this is a peach. I’ll admit, it does have a bit of a peach look to it, but it’s totally a clementine. 🙂 The clementines we buy each winter are “Oh my Darlin'” Clementines, so I had to try this. Plus, it pushed me again. 🙂

Art Journal Prompt: Sweet Hearts
Prompt: Sweet hearts
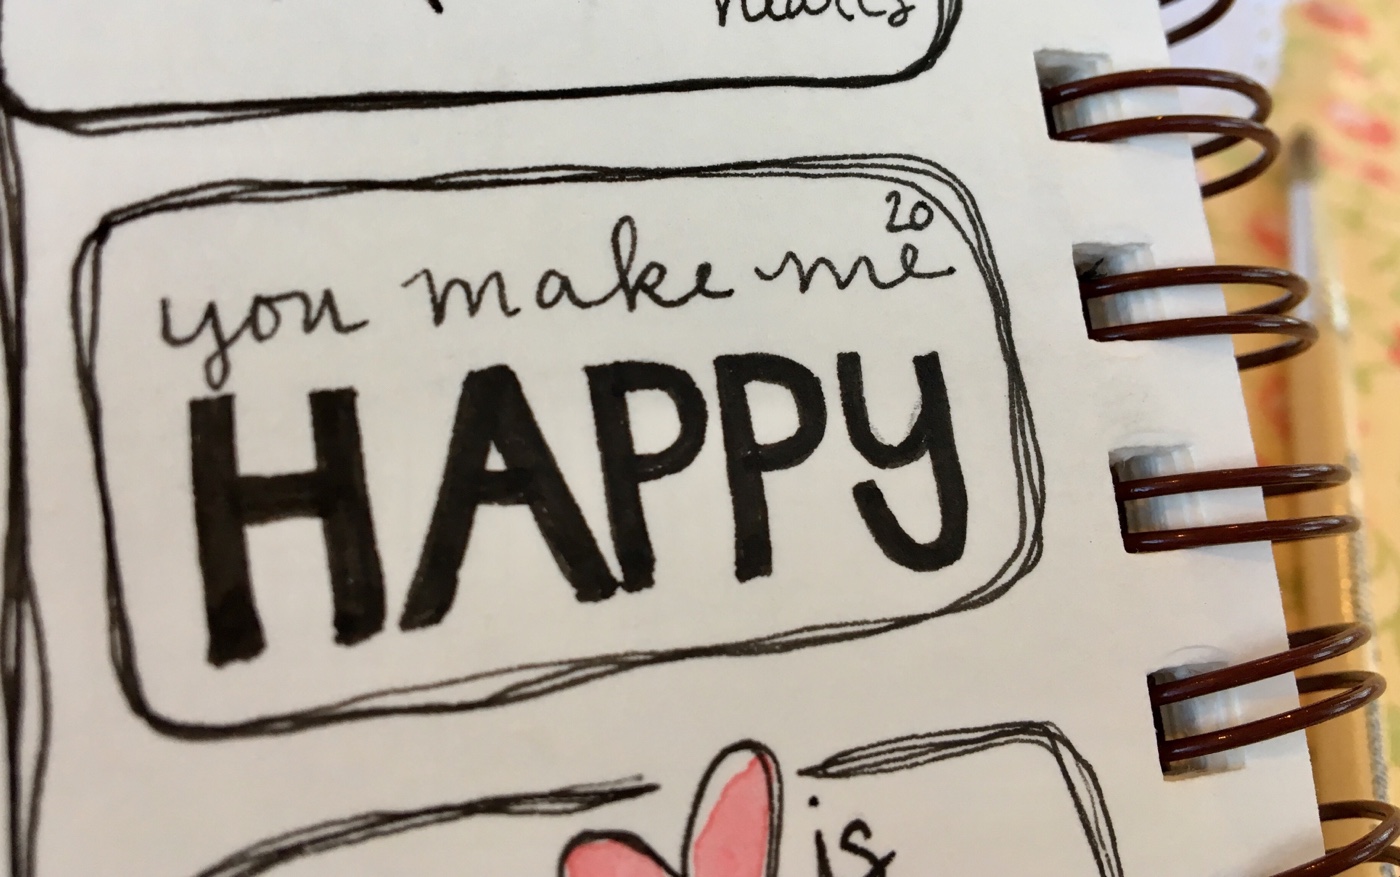
Art Journal Prompt: you make me happy (hand lettered)
Prompt: You make me happy
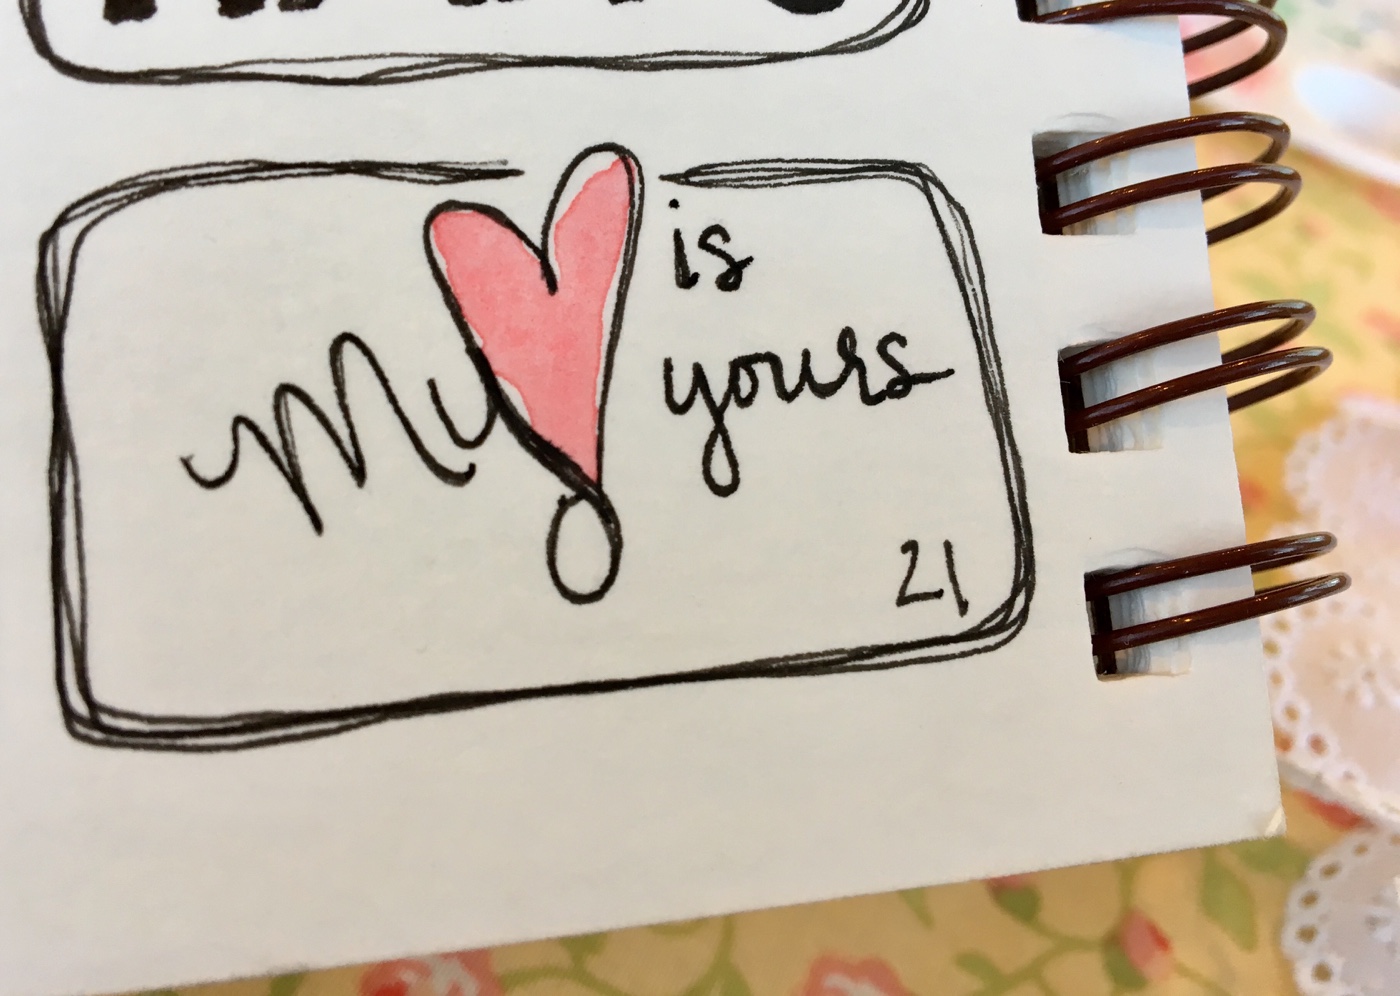
Art Journal Prompt: My heart is yours
Prompt: My heart is yours

I actually really love this one, but I don’t love the way it turned out. I did some more working with it on paper after this was done and have come up with something I’m excited to debut in next Valentine’s printables., so if you like my stuff, you may want to subscribe so you don’t miss it. 🙂 (shameless plug)

Have you seen week one and week two?

Gathering here.
Cacti in Mugs – Repeating Pattern

Cacti in Mugs - mamasbrush

I’ve created another repeating pattern for Spoonflower’s Design Challenge. The main reason I enjoy participating in these is because they push me to create something I wouldn’t otherwise create. This week’s theme is Desert Modernism, and while I’m not sure I’d call this modern, it is my take on their theme. I wouldn’t have chosen to paint cactus just for me and I certainly wouldn’t have thought to put them in mugs if I wasn’t painting them at all.

In the end, I’m a super pleased with how they’ve turned out. Voting is over here if you are into that. 🙂 (Voting now closed. I didn’t win… but it’s okay, I’m just in it to grow.)

What do you think?

Gathering here.

Scripture Cards for Graduation – Watercolor Illustrated Flowers

Scripture Word Art Cards

Monday we were invited to our pastor’s home for a double graduation party.  Their adopted daughters both graduated high school this year and it was a fun celebration!

I knew I wanted to paint their cards, but I struggled to know what I wanted to do.  I played with some graduation themed illustrations, but they didn’t seem right.  In the end I went with encouraging their future instead of commemorating the achievement.  I may use one of those later this week if I paint one for a guy we’ve been building a relationship with at our grocery store.

Scripture Word Art Cards - Colossians 3:16

I just noticed that I hadn’t put the reference (Colossians 3:16) on this one when I took the pictures.  I did add it before stuffing the card into the envelope.  I put it along the stem above the left leaf.  I liked it.

I got the idea for this card from a pin I saved from Elvie Studio.  I’m still in that learning place where a lot of what I come up with starts with what I love about other people’s work.

Scripture Word Art Cards - 2 Timothy 1:7

I got my inspiration for this one on Pinterest too.  Mine is different.  I like theirs better. 🙂  But it was good practice, and I still think it turned out fun.

Best of all, the girl’s liked them and it’s something they can take away to school next year and put up in their rooms if they want.

Gathering here.

Ladybugs Illustrated Card

Ladybugs on grass Hand lettered Psalm 150:6

Updated March 2022: You can find an updated version of this artwork in my Etsy shop here.

Yesterday was my little girl’s 6th birthday and so I just had to design her a little card.  She’s super excited to put this in the front clear pocket of her binder as she is starting official first grade tomorrow.  She’s been begging me for a while now, so I am making it happen for her (having a 4th homeschooling is pretty scary!)  We would have started today, but today she got to go to work with Daddy as is tradition on the birthday for the kids who are old enough to be away from Mommy all day (the littler ones get taken out to lunch).

Ladybugs on grass Hand lettered Psalm 150:6

Where was I?  Oh yes, the birthday card.  Her theme was ladybugs (because she just loves them and carries them around the house as long as possible whenever she can catch one.)  The illustration was inspired by this pin, but I’m not sure about the original source as I repinned this and it doesn’t point right to it.  If anyone knows, leave a comment!

Ladybugs on grass Hand lettered Psalm 150:6

The illustration just screamed to have lettering added to it, so I chose Psalm 150:6 – “Let everything that has breath praise the LORD!”  As my little ladybug gets better at reading this year, she can begin to learn the verse on her card. 🙂

I’ll share more about the ladybug birthday later in the week. 🙂

Gathering here.